Mike T
-
Posts
1,301 -
Joined
-
Last visited
Content Type
Profiles
Forums
Gallery
Events
Collections
Everything posted by Mike T
-
The engine shop emailed and the bearing shells for the connecting rods were in the wrong box evidently, as the box says they're 0.3 mm oversized but they appear to be standard - i.e. too thin for the resurfaced crankshaft. So I will source some more from Europe and that will delay the engine's return to the car a little...depending upon how long the postage takes. At least the engine assembly is nearing completion on the shop!
-
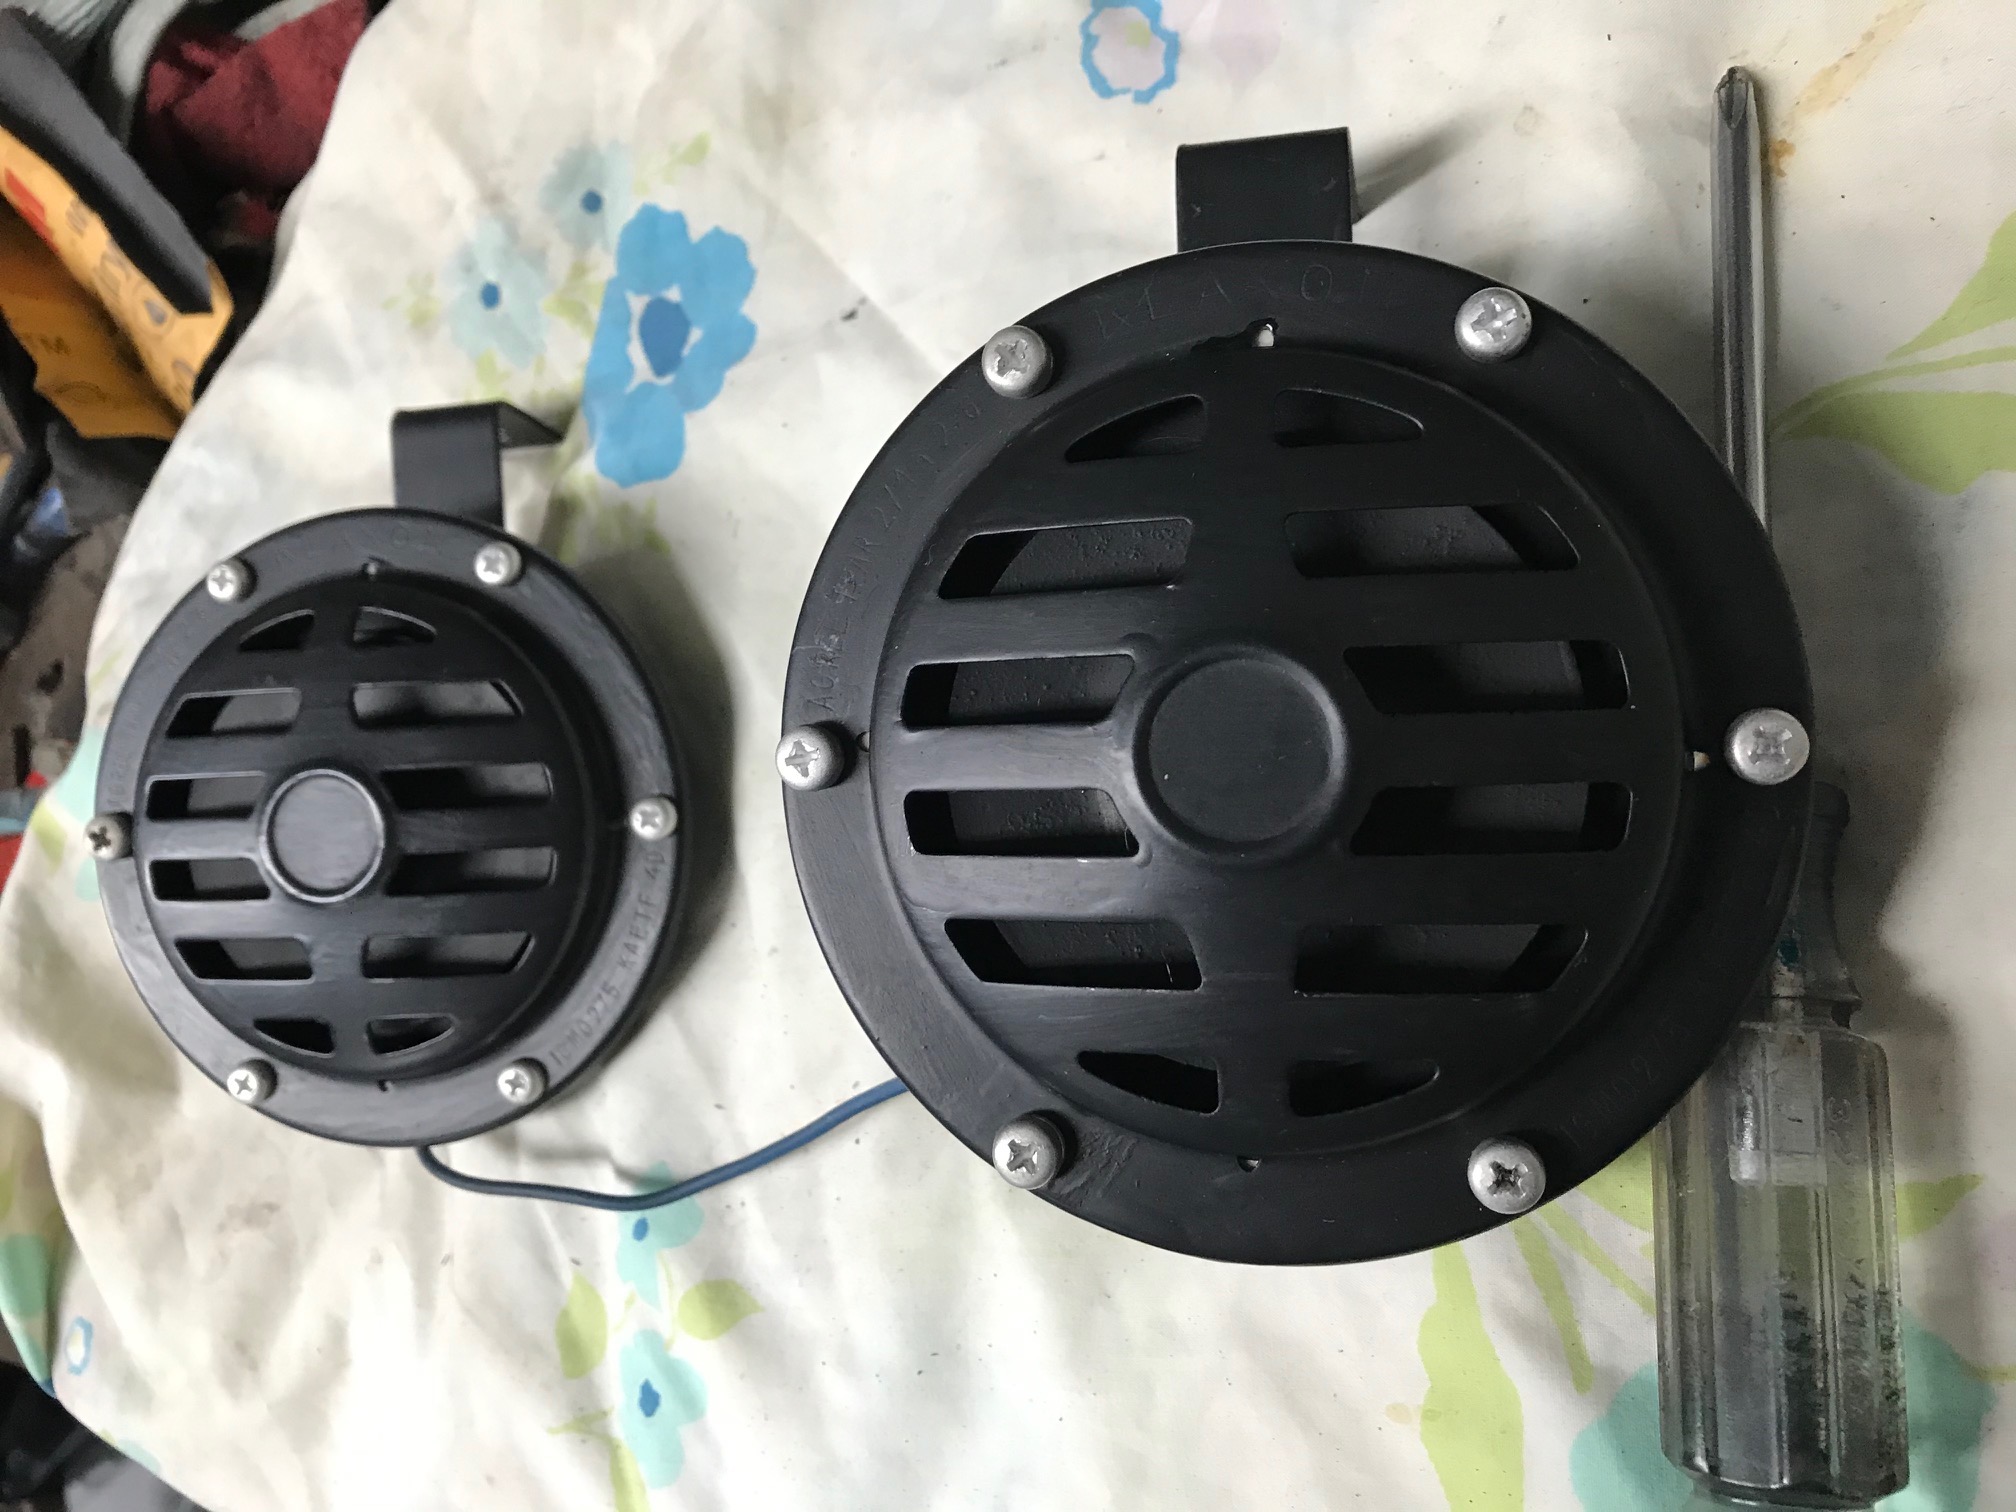
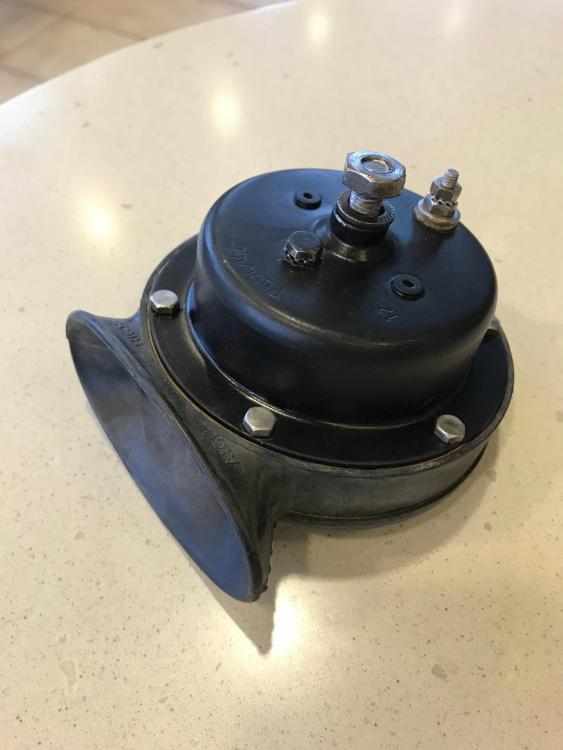
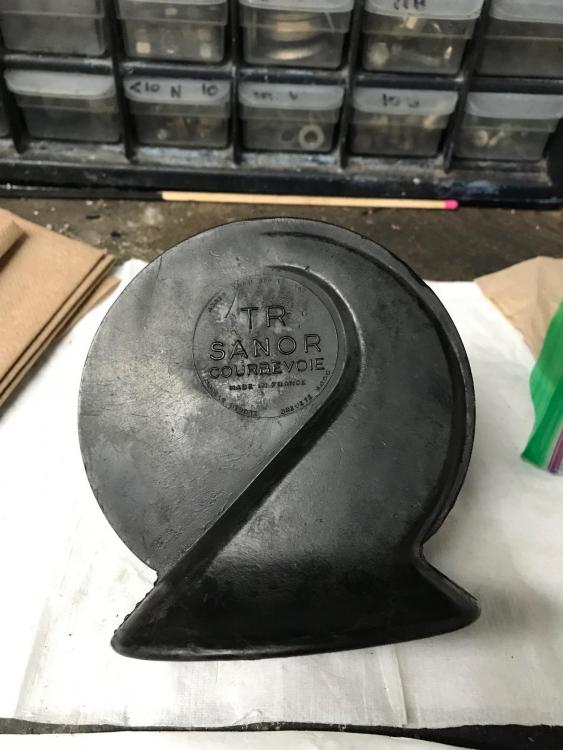
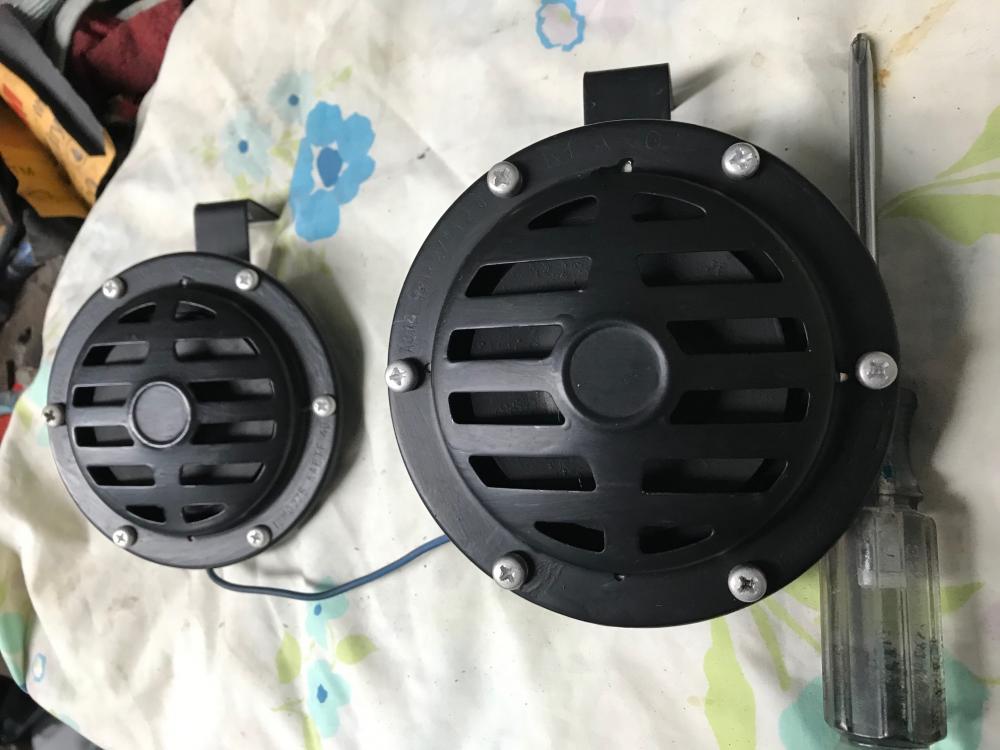
The town horn I think is the one in the engine compartment and the road horns behind the grille....anyway I bought a new SANOR brand rebuilt town horn because mine was beyond repair and the plastic had spalled off the edges. Got it on eBay, not cheap but it was redone and works well. The form is identical to the original though the sound is likely a bit different because this one is a "TR" and the original was a "TV3".
-
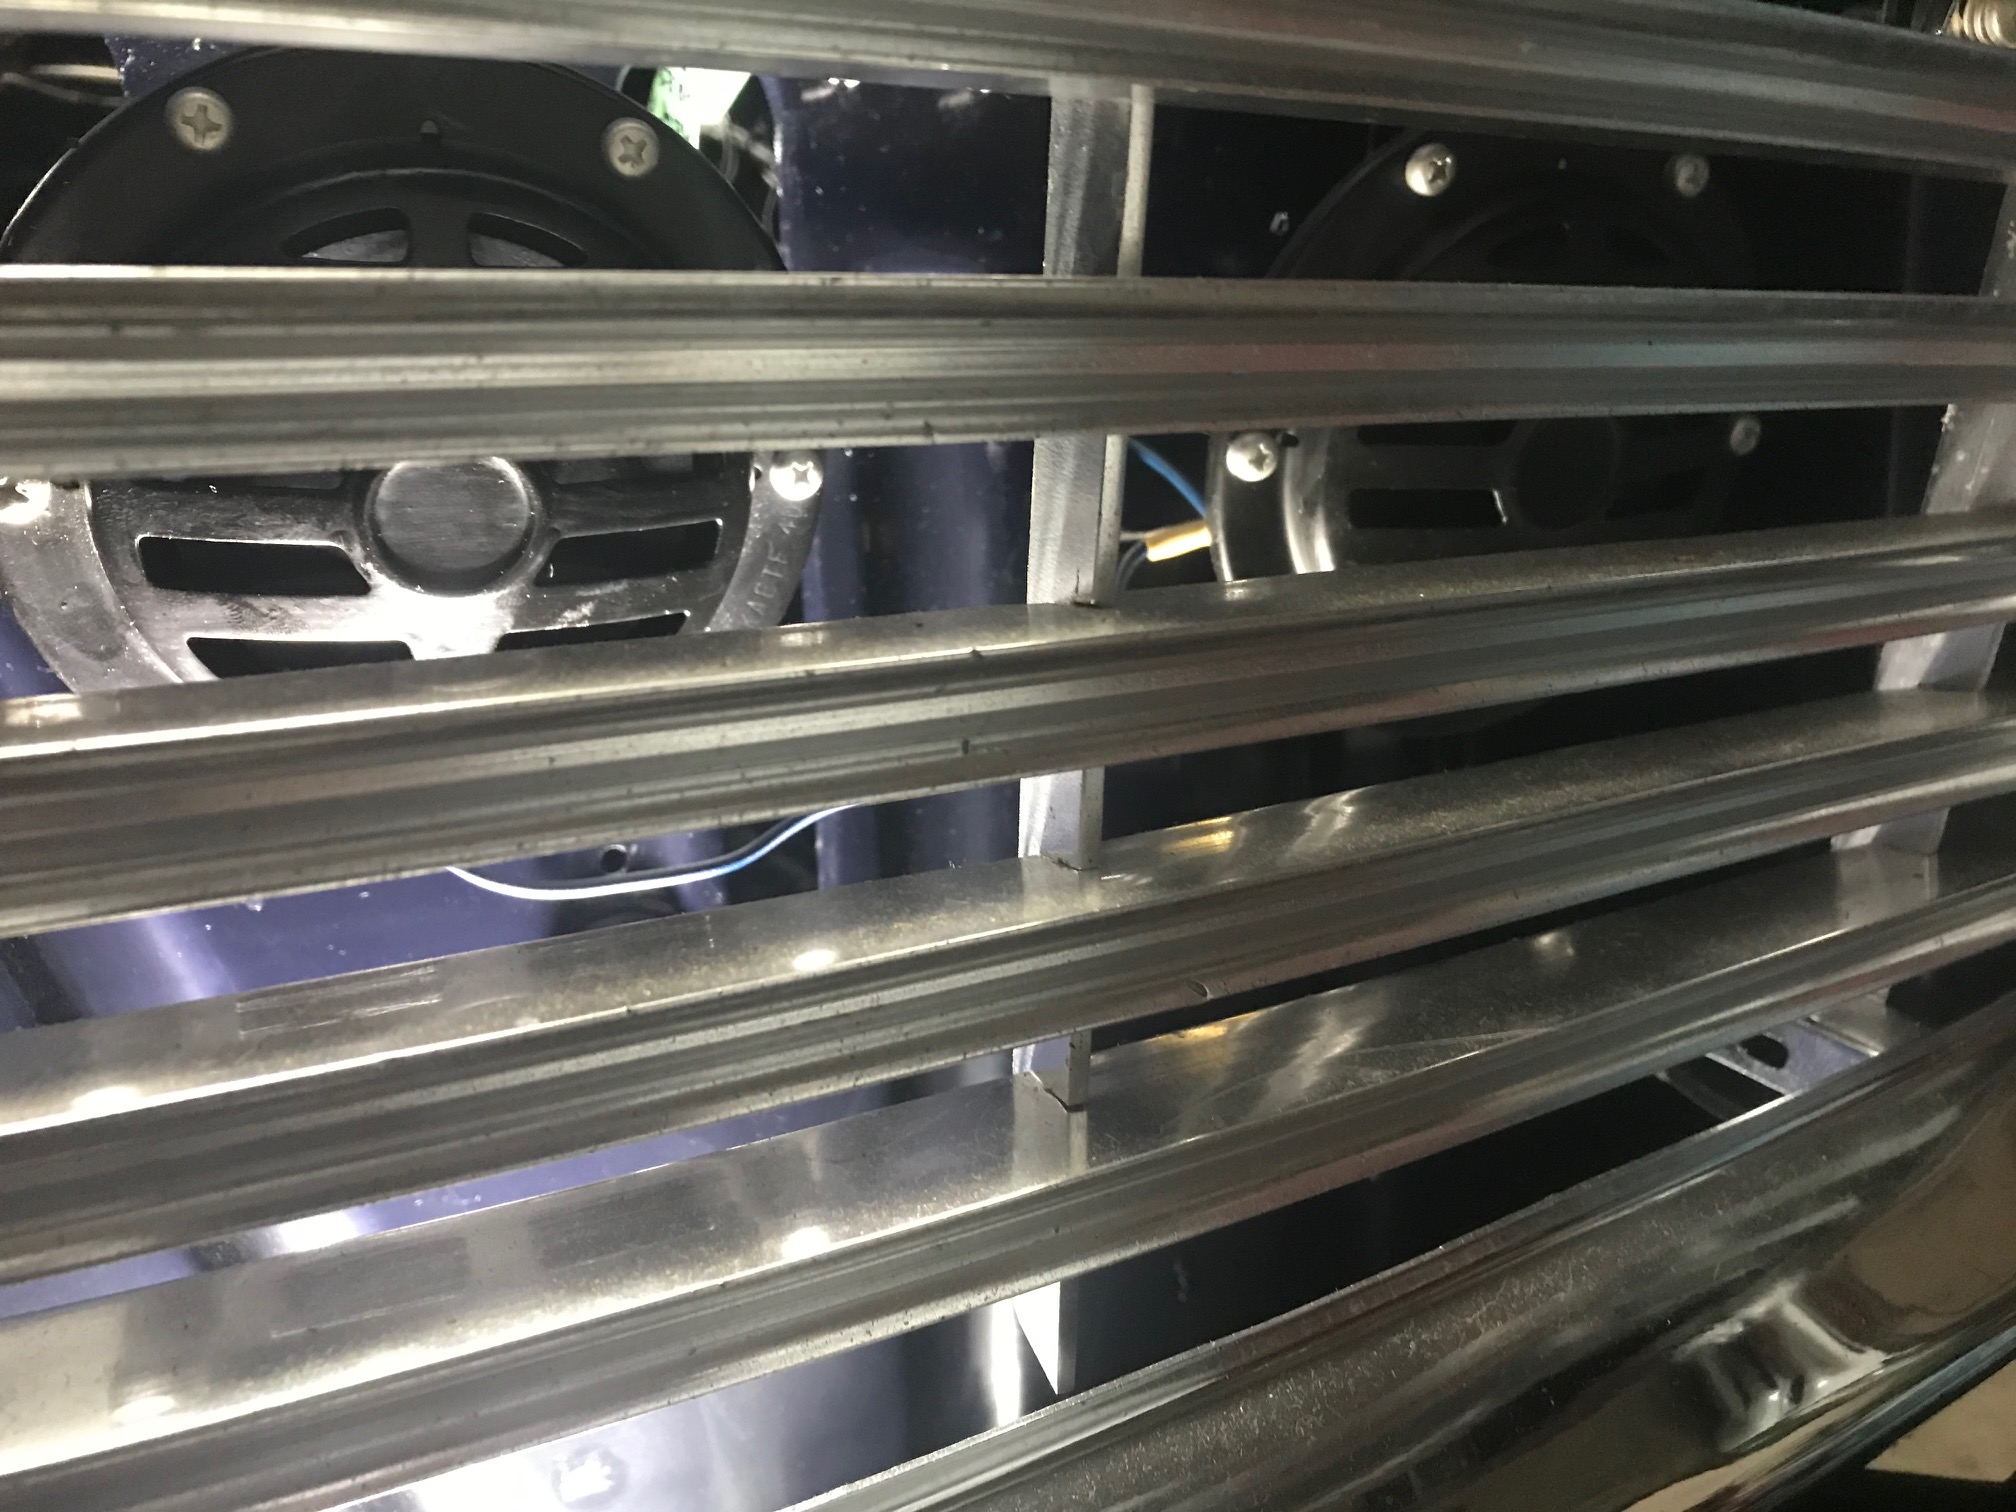
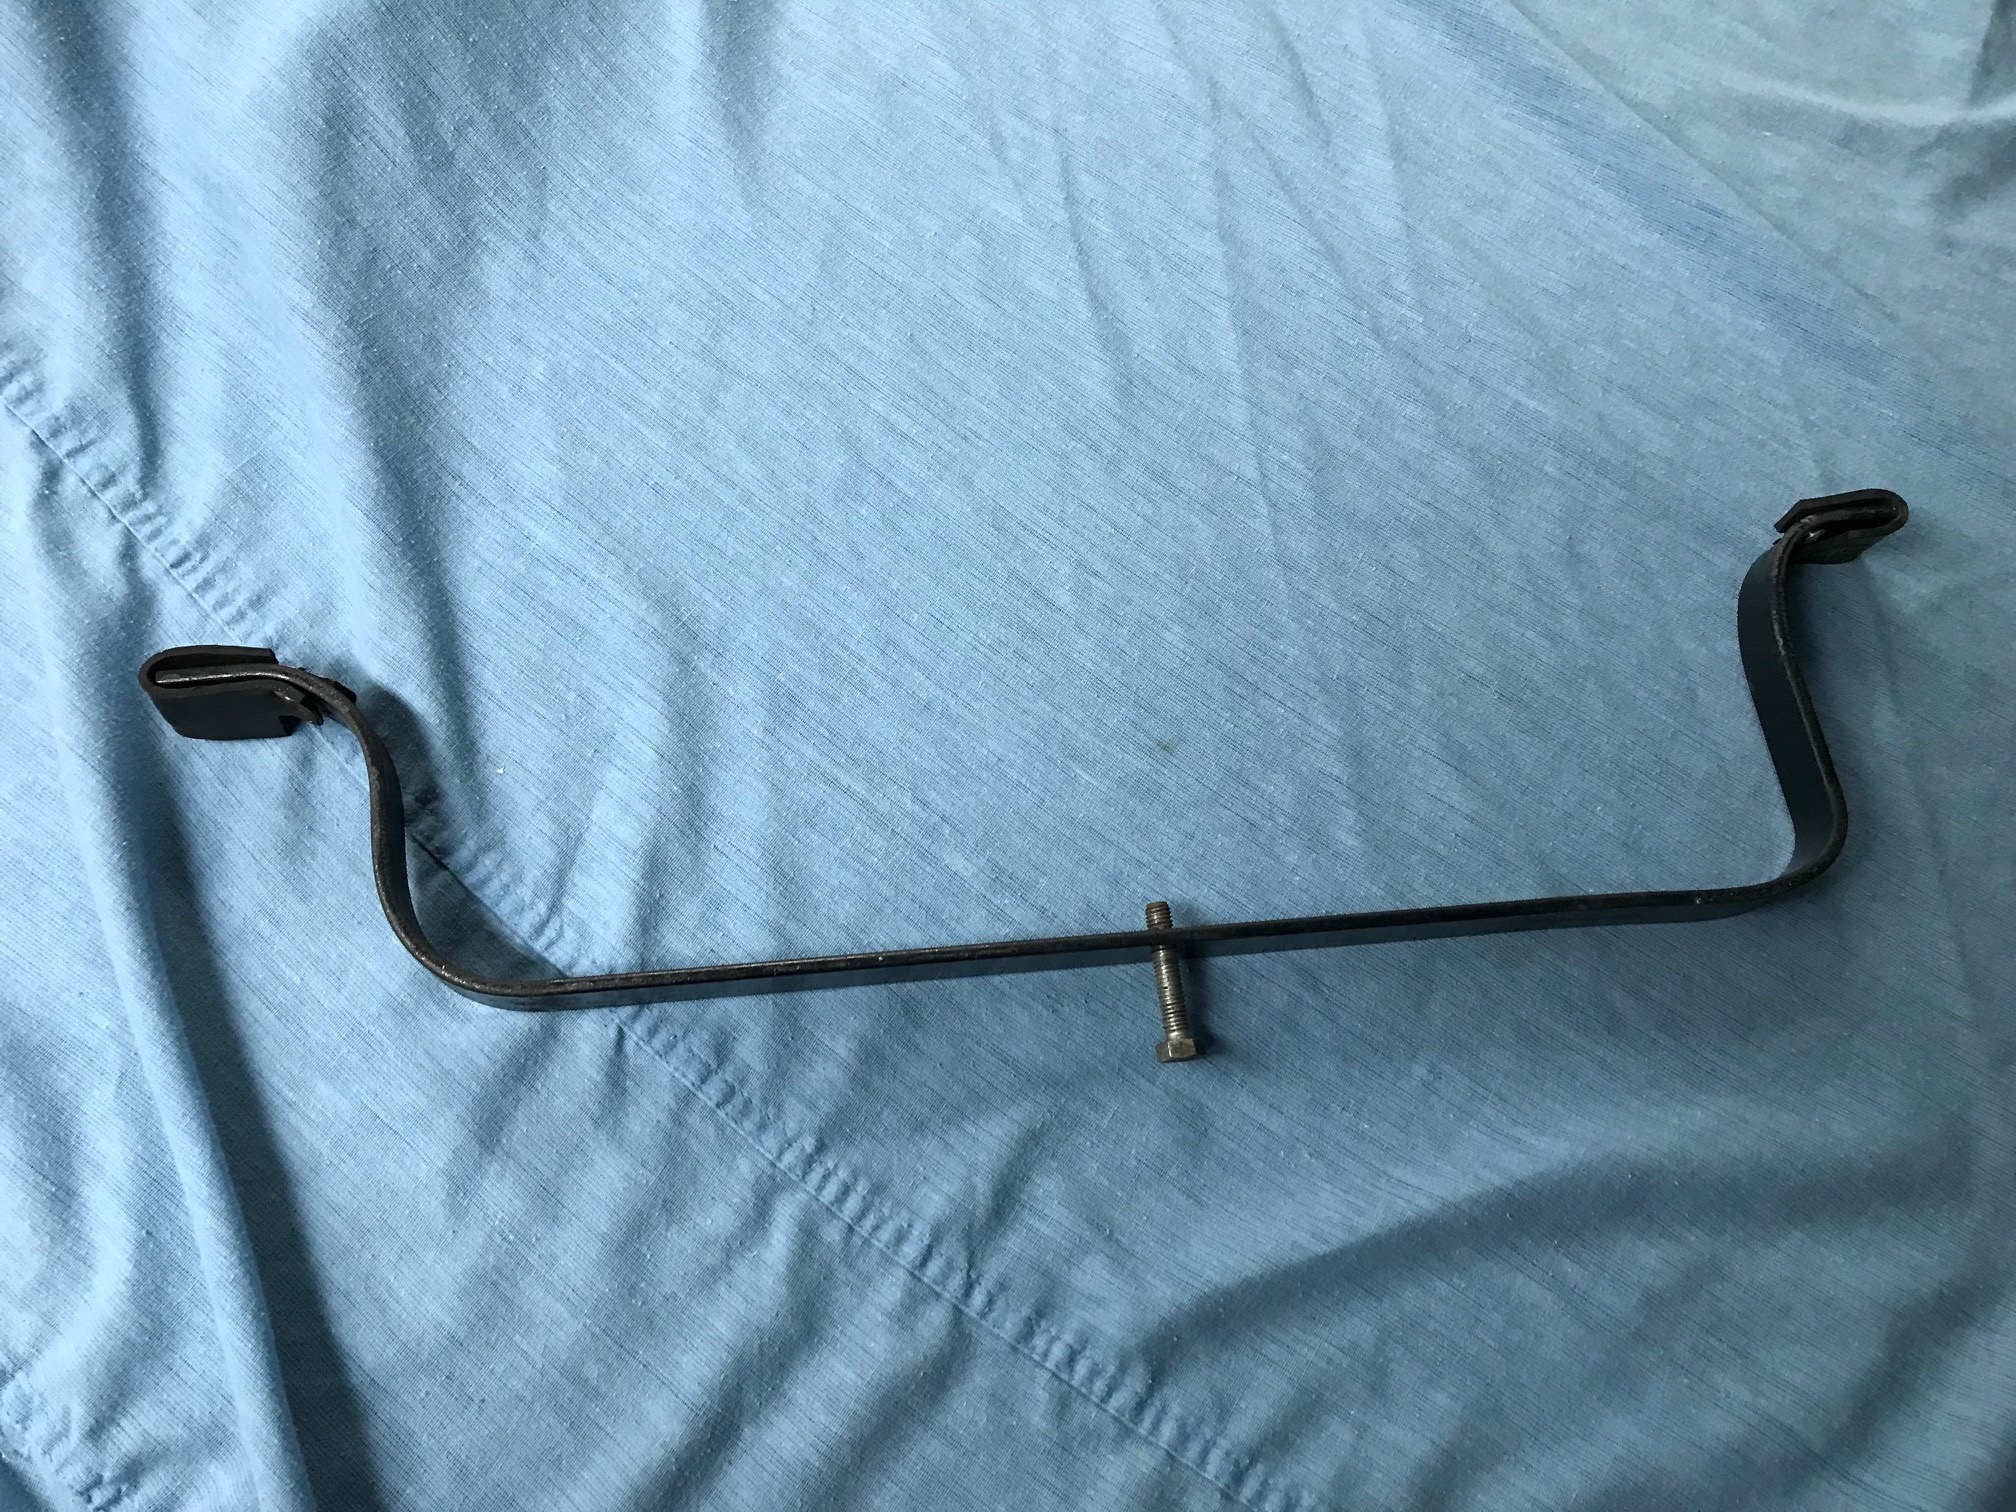
Today was a slack one in the garage: mount the two town horns behind the grille - access was difficult though - and modify the gearbox support tool to get more lift. The former was a success and the latter mixed, as the tool I made is flexing quite a bit. May have to use a floor jack when installing the engine, we will see.....


-
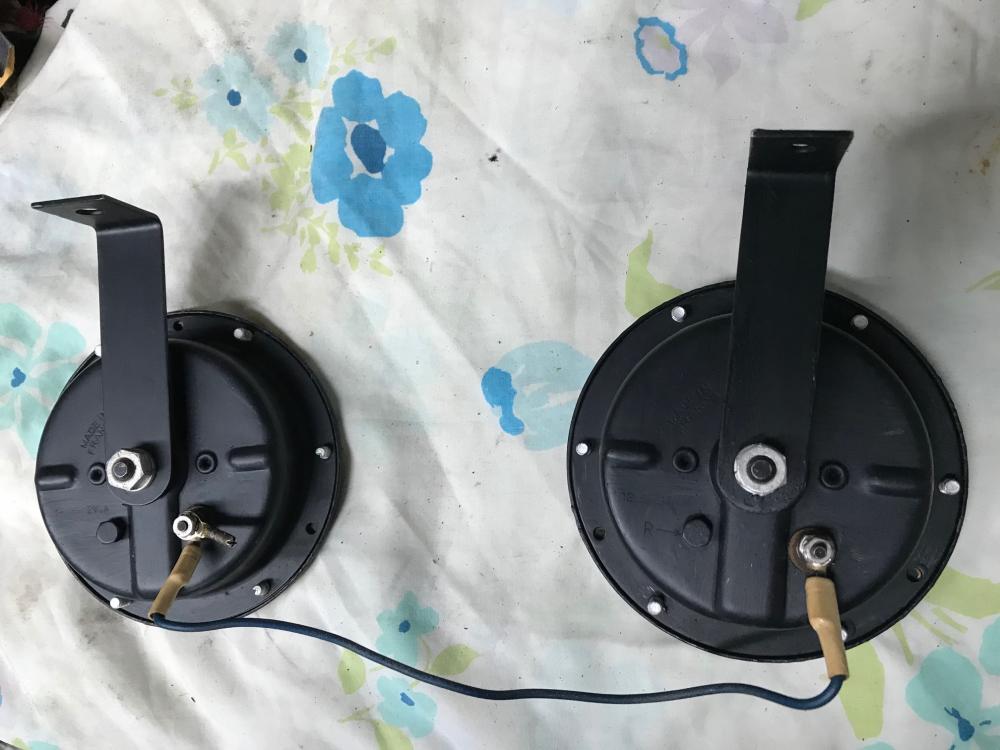
The town horns assembled and working. The grave (flat) is kind of hoarse, which I think will be charming, and the aigu (sharp) is very musical. As you can see by the wires, they blow together. One case was made in December 1965 and the other in January 1966. The car was built in April 1966 and sent to Canada after May 1966. I need to buy a highway horn now because the original was beyond saving.
-
The two round ones are Aigu and Grave - quite loud, American-ish. The third one is a mini-trumpet and I have to replace it.
-
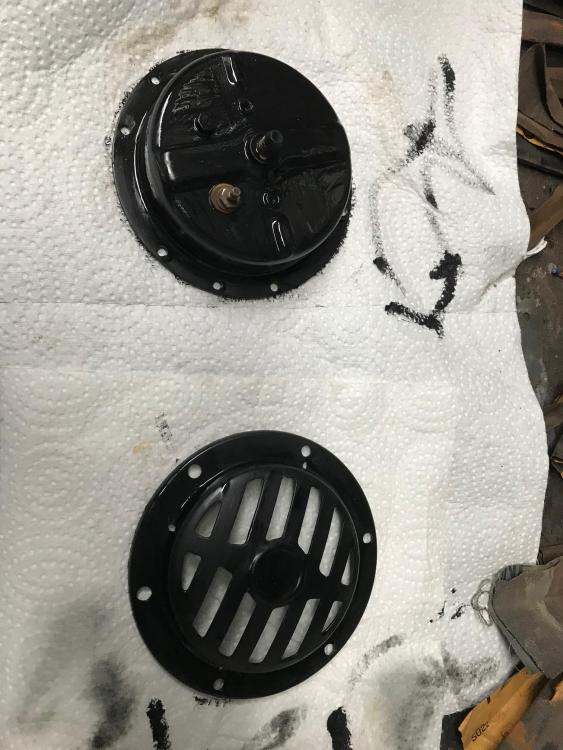
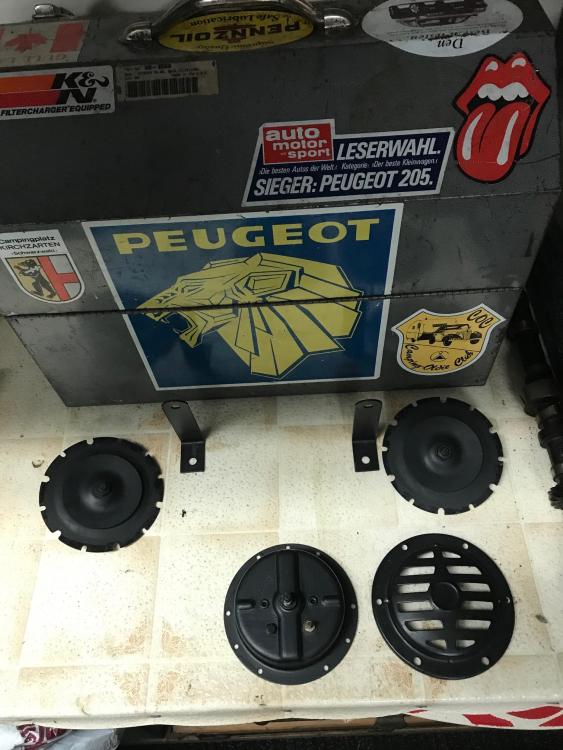
Horns from the 404 of this era are possible to disassemble, de-rust, clean up inside, adjust and reuse! Both of them were not working beforehand but I cleaned the points inside and got them both working again! These both live behind the front grille.
-
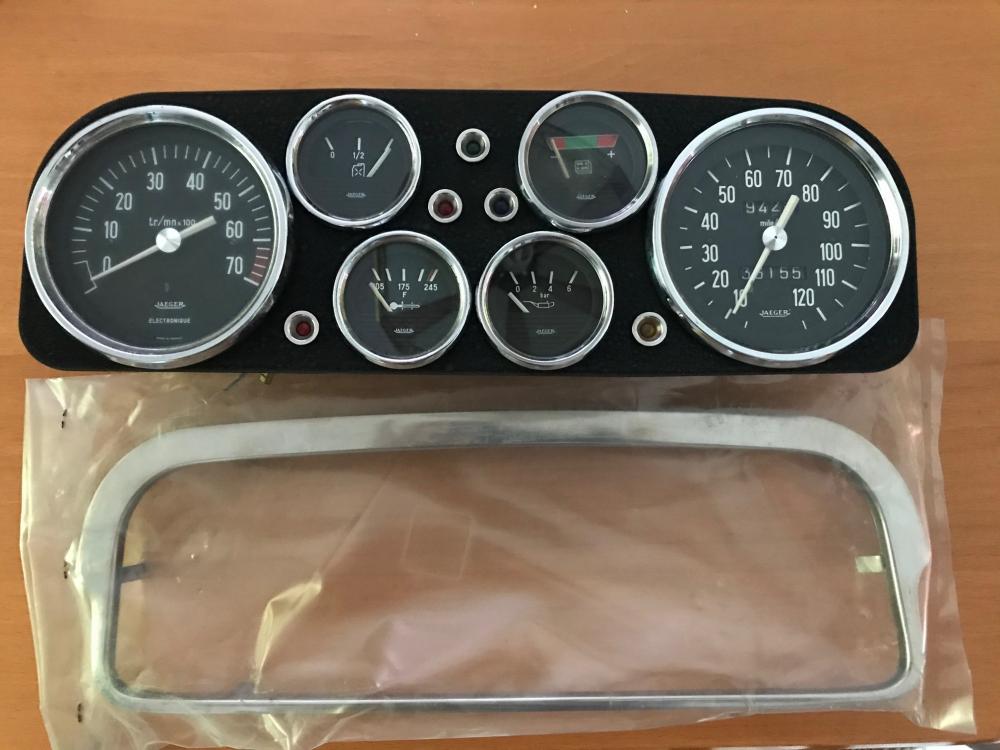
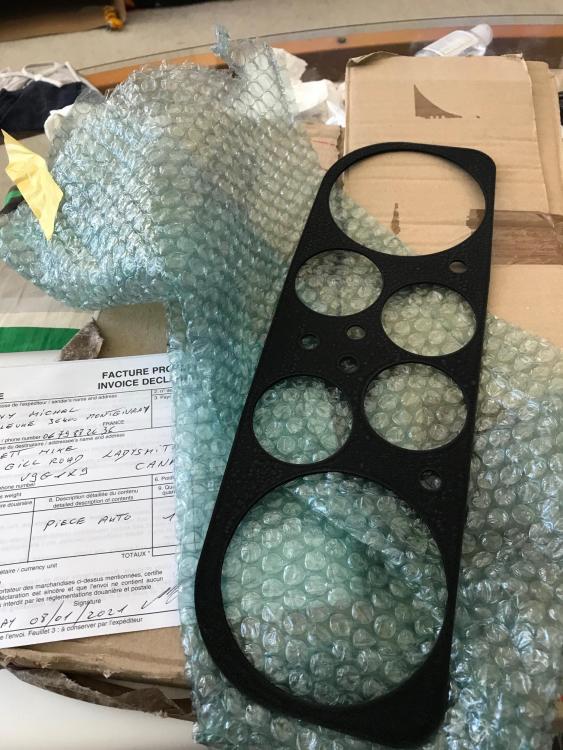
The Jaeger panel for the sports instrument panel - made by Le Club 404 - arrived today and I installed the instruments provisionally at the lunch break. The instruments other than the oil pressure gauge are used and need to be cleaned and tested. I may also look for a better voltmeter and possibly an 8 Gordini tachometer after all, as the Renault 8S tachometer has a different style of chrome trim. Still it's a good start.....

-
I know, it was a joke, therefore I added a
-
Sand bending is old school - it used to be done for hydraulic pipes too... but don't forget to clean them out before use!
-
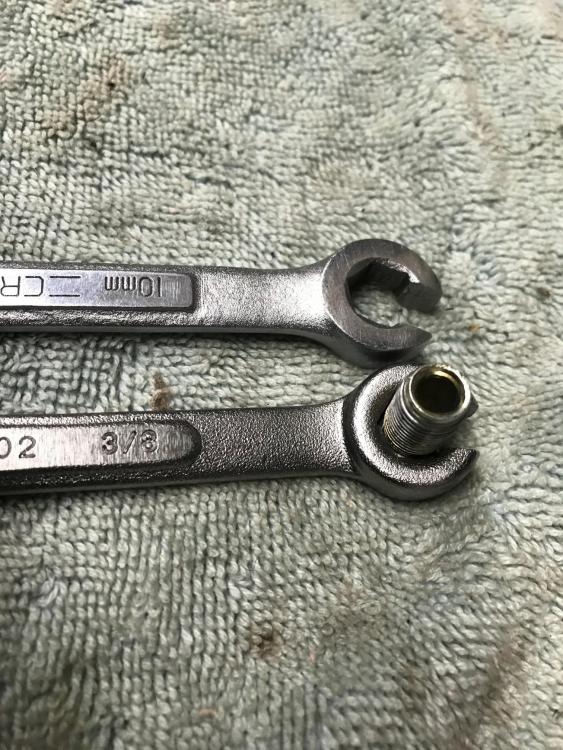
The original brake pipe unions had 10 mm heads but imperial UNF threads! The replacements were 3/8" because they were locally sourced (remember I made my own brake lines). 7/16" seat belt bolts, eh? Pretty damned small head
-
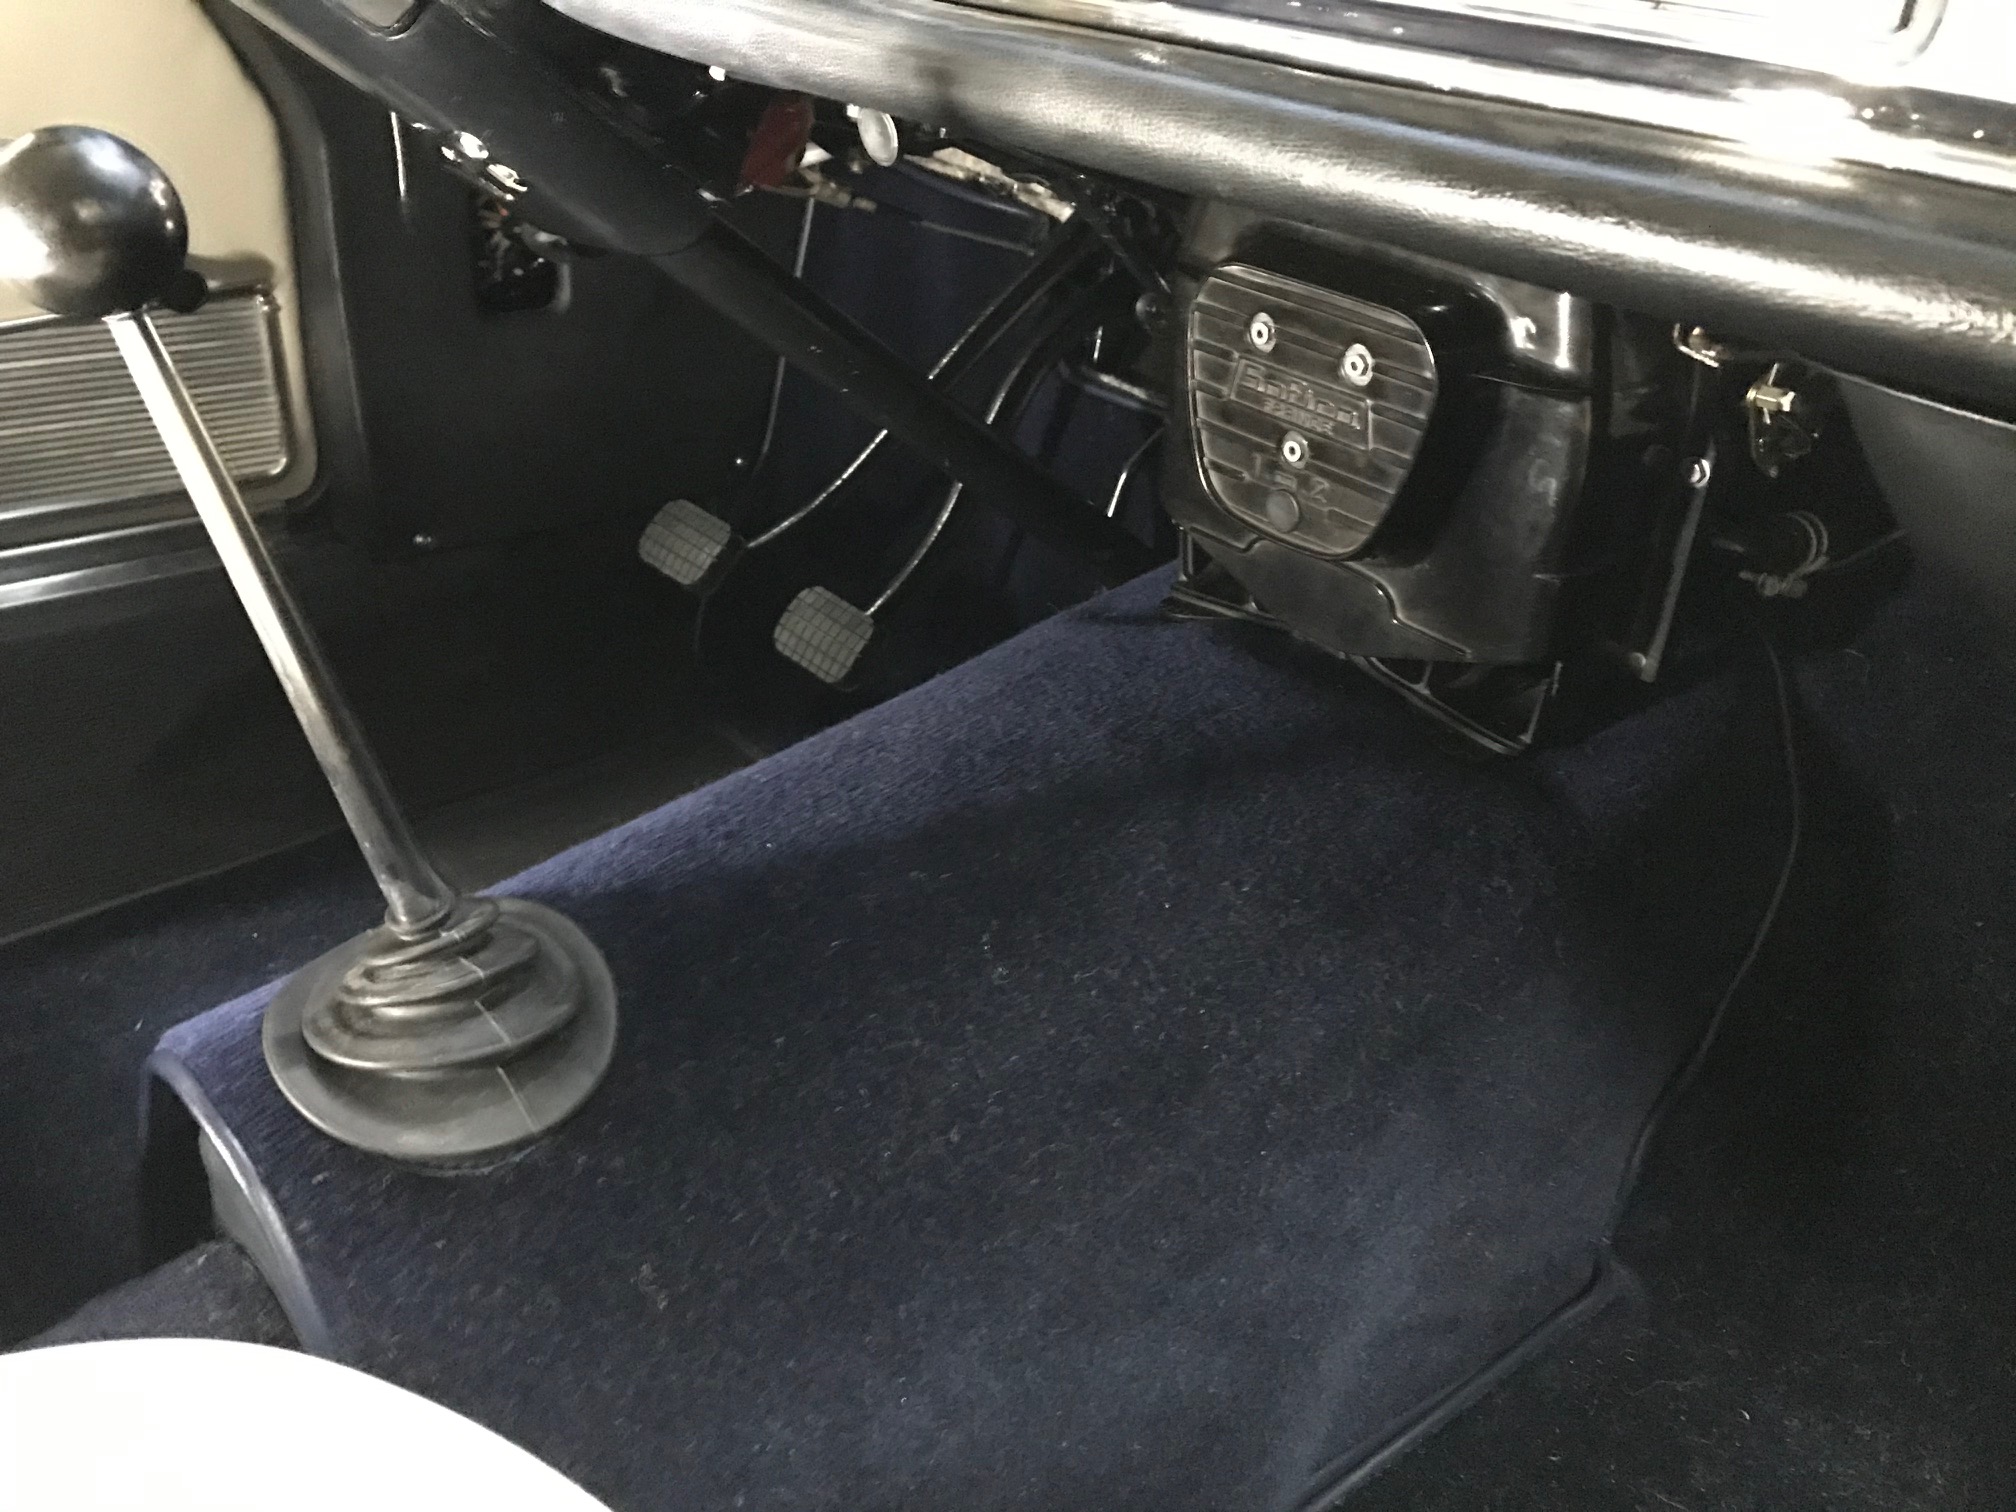
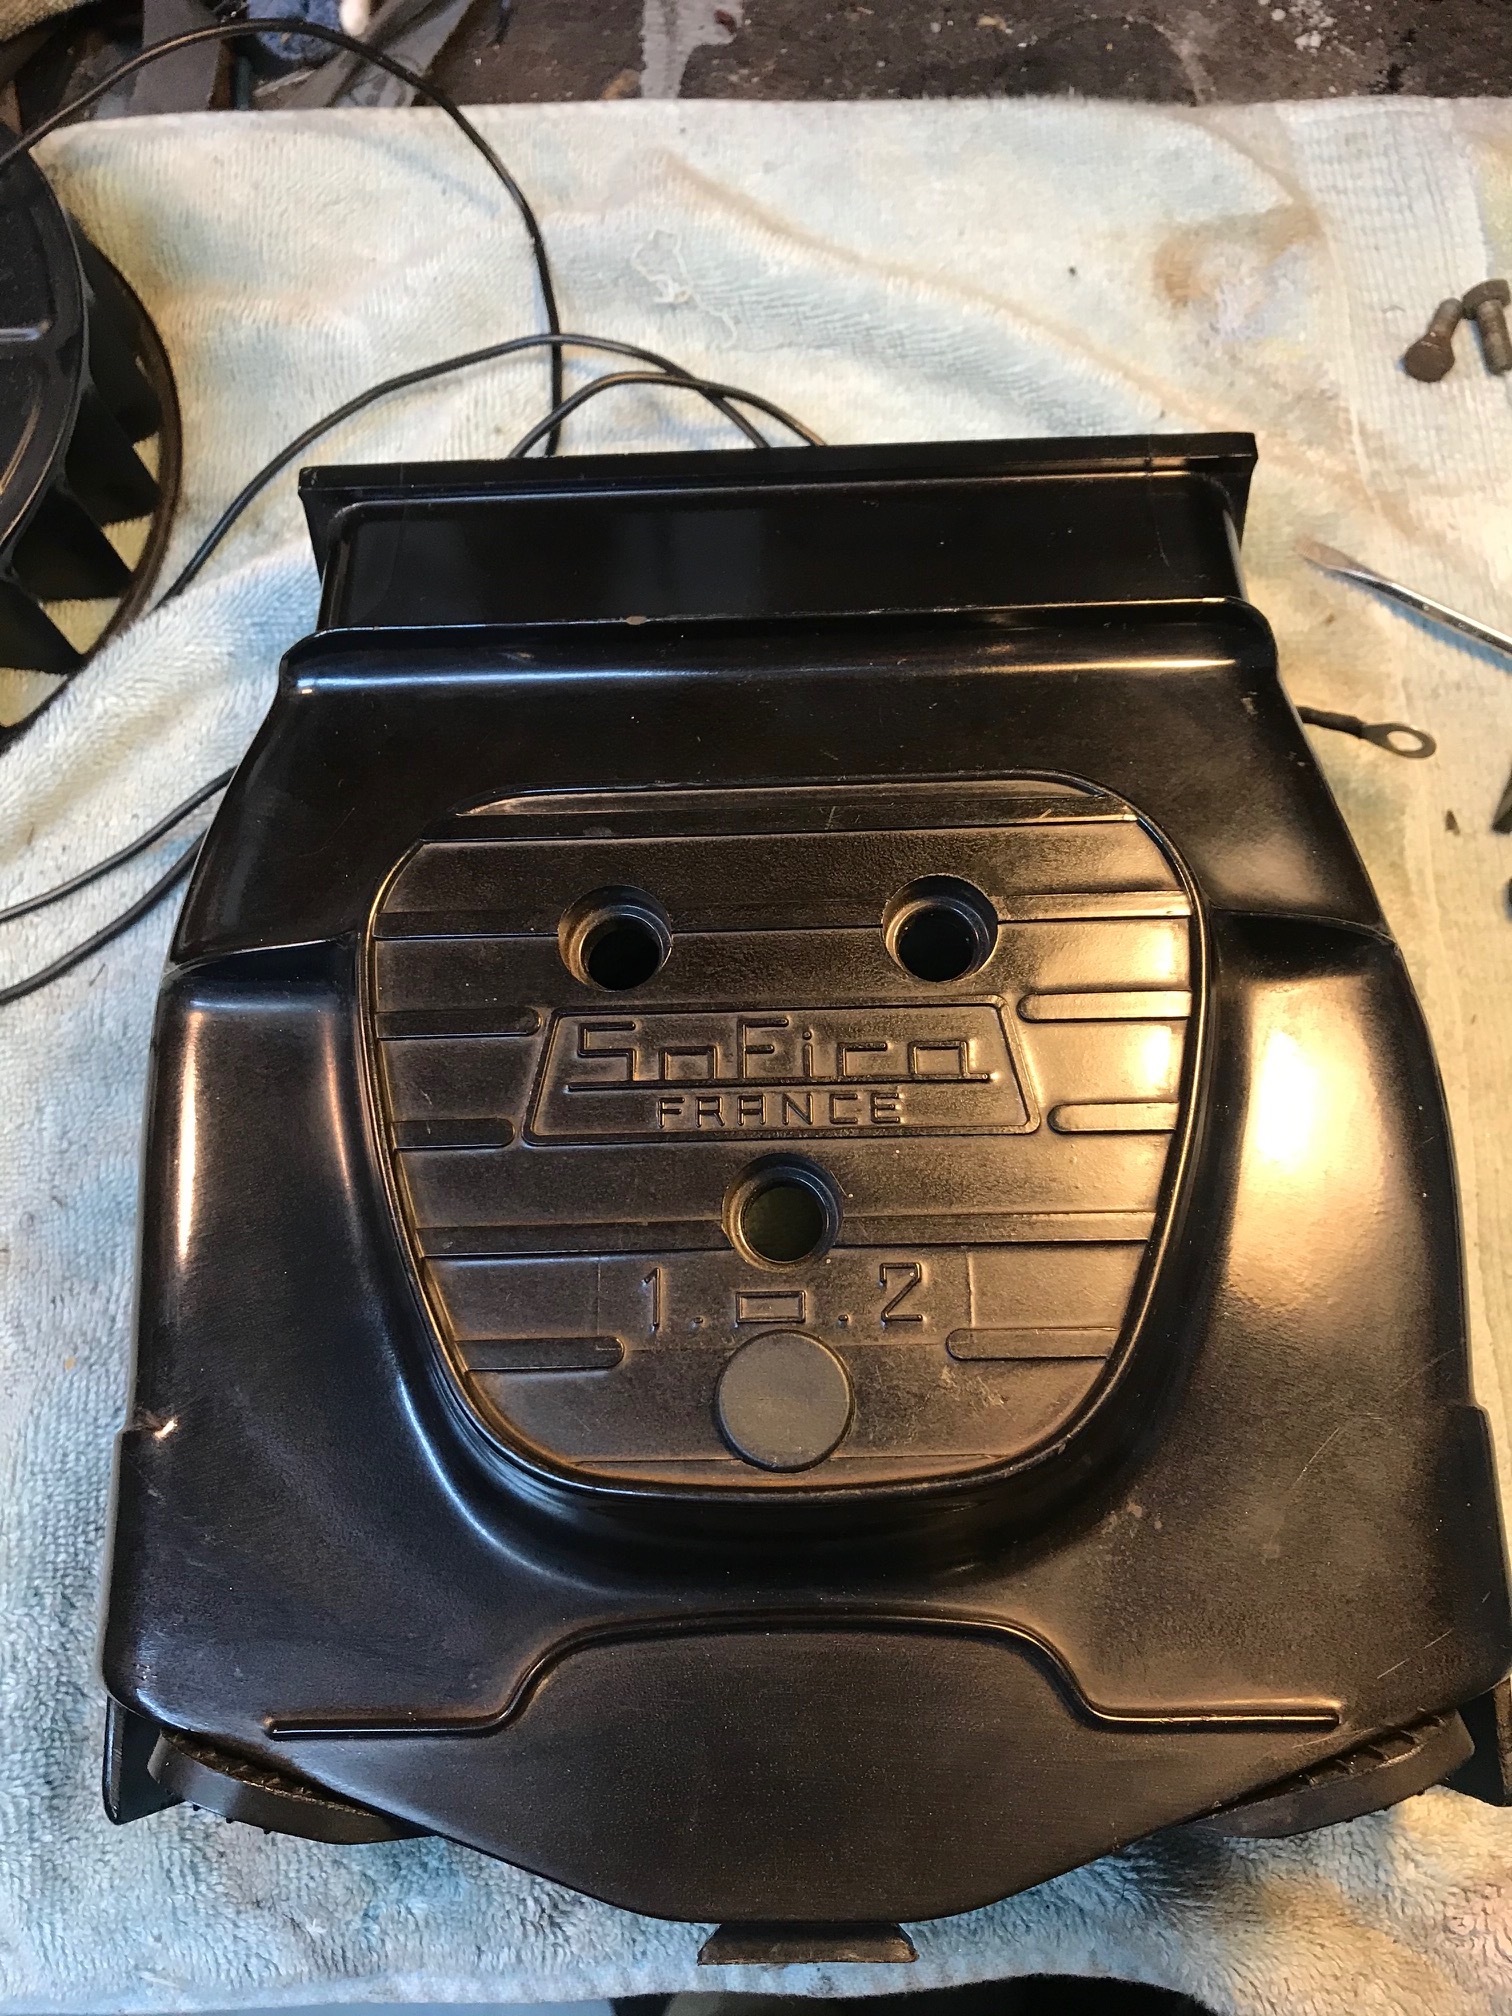
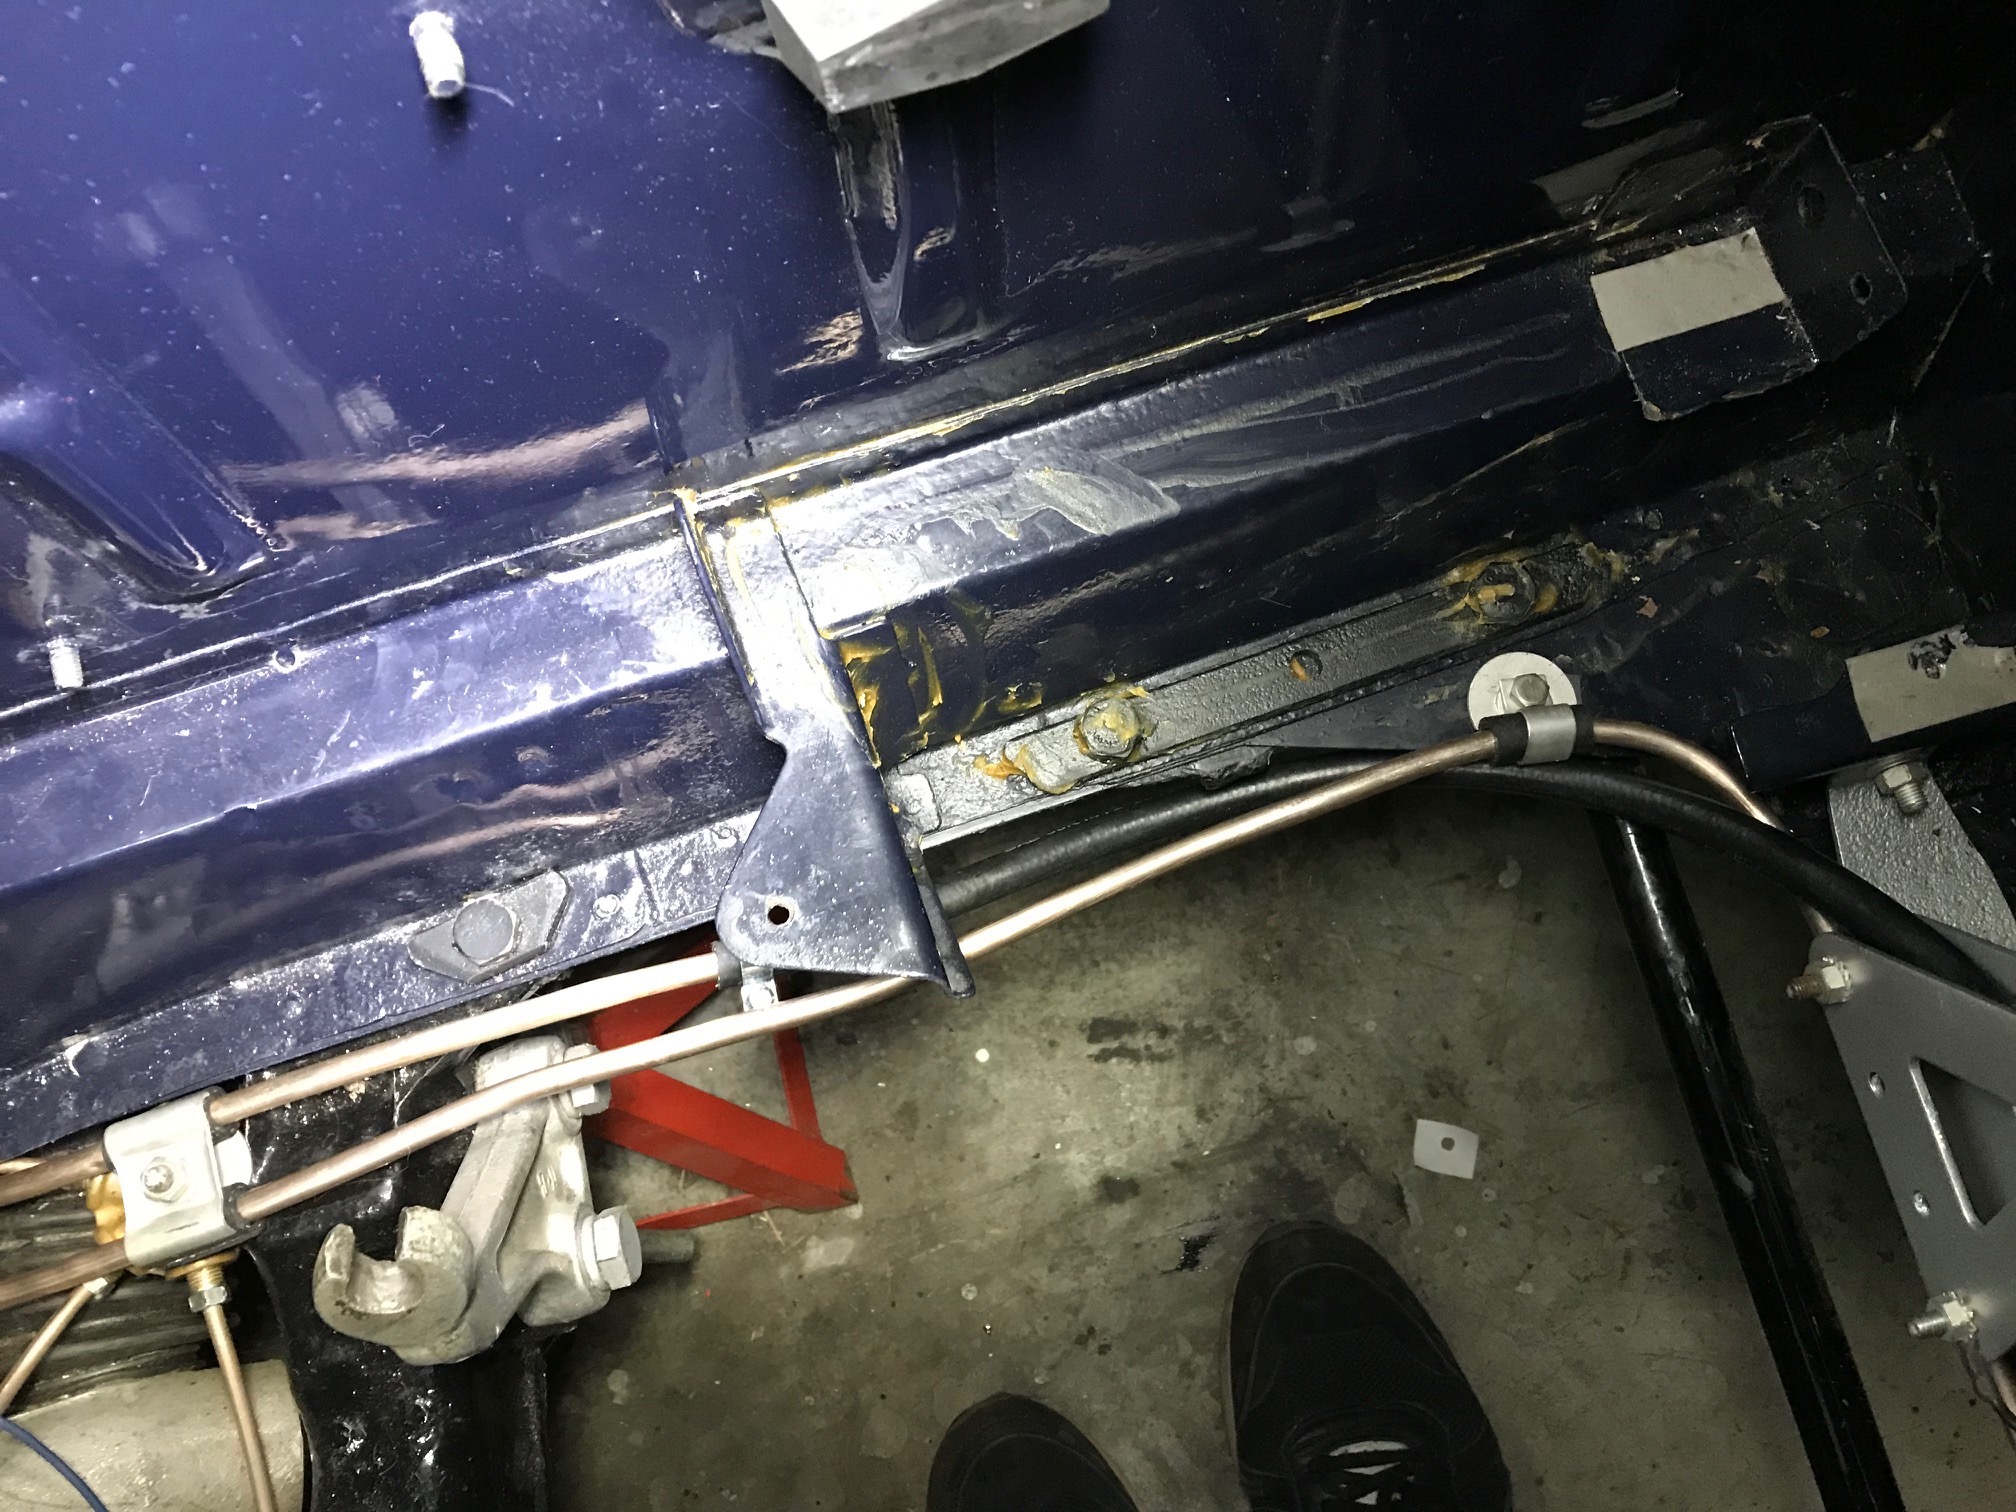
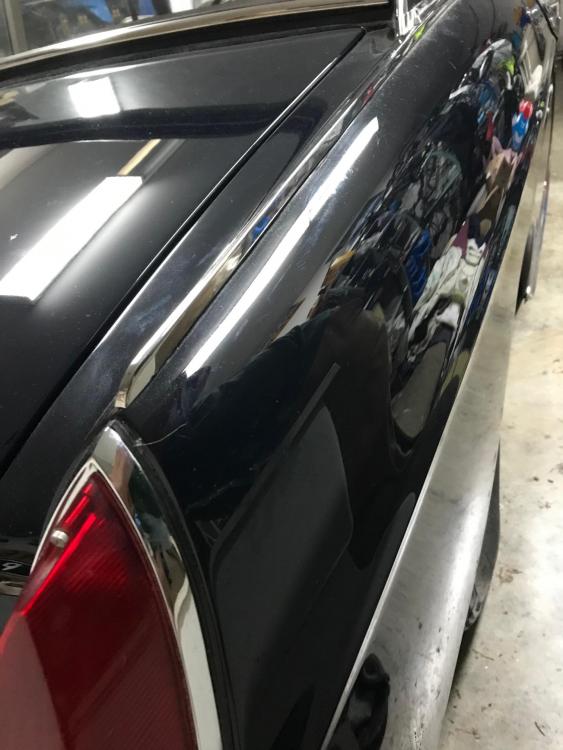
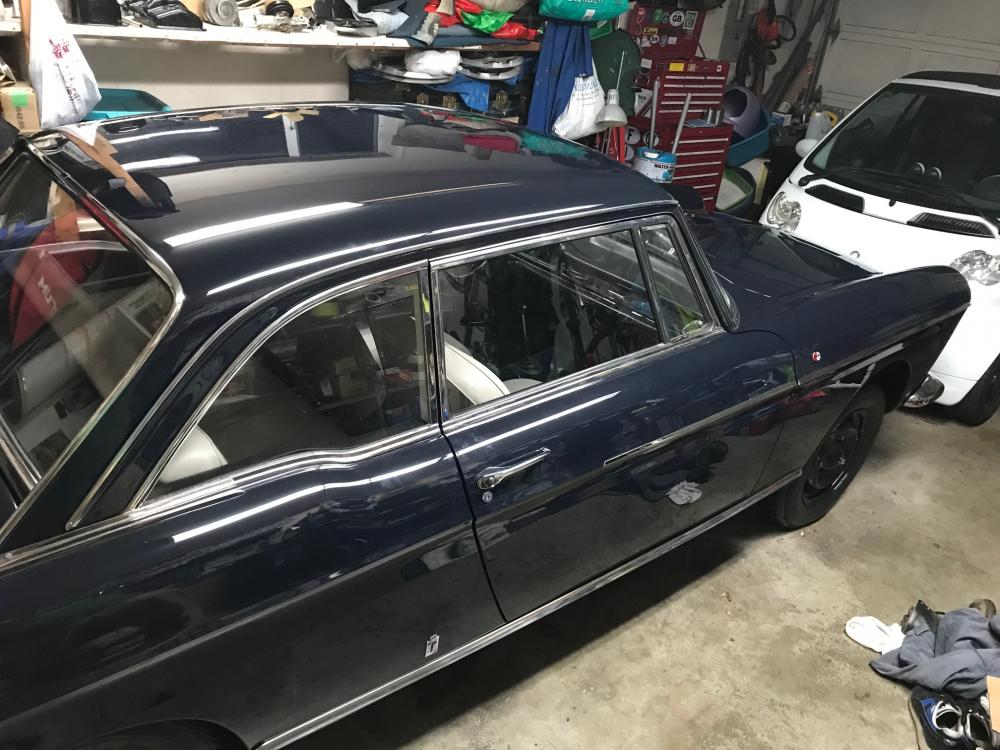
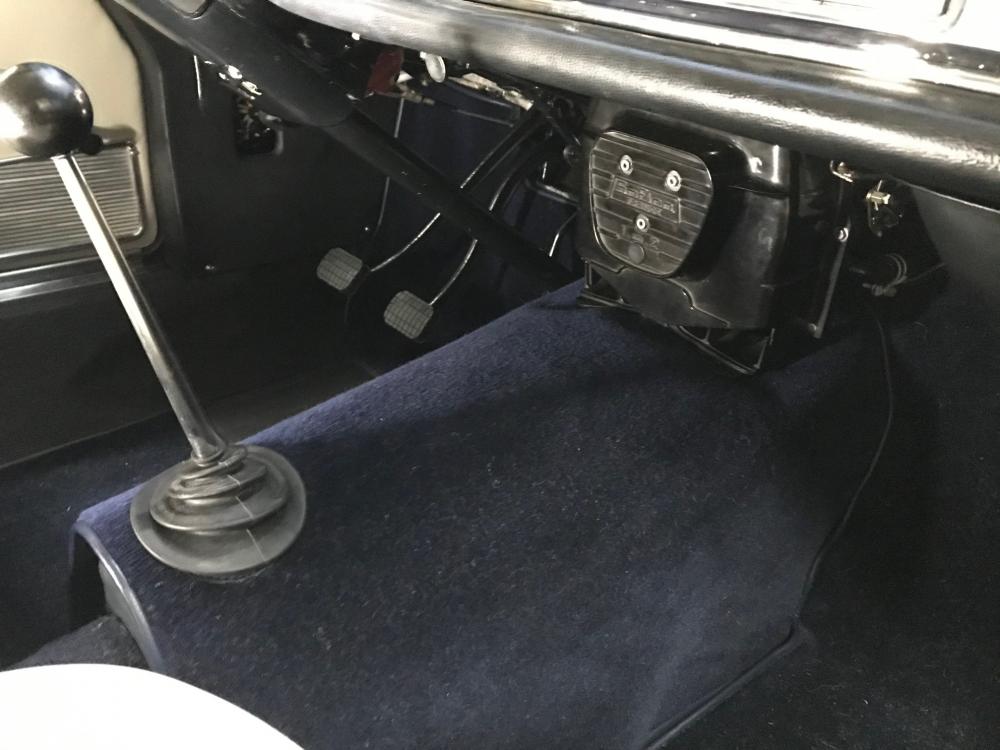
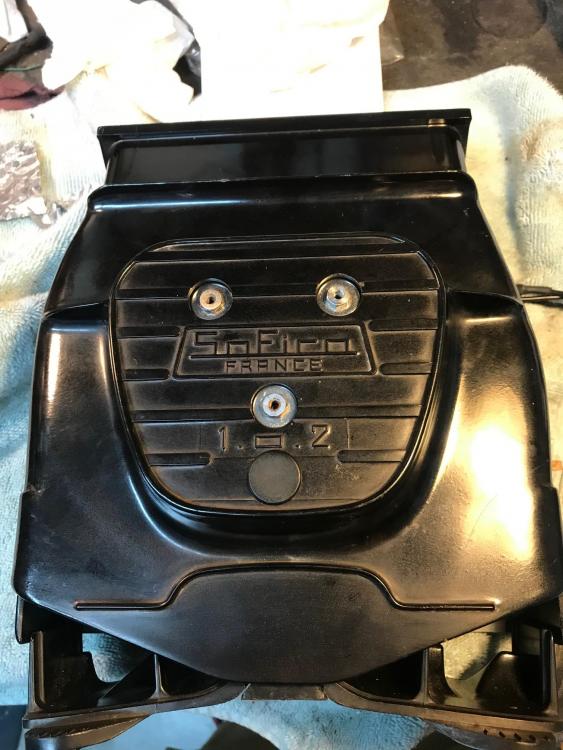
Got the SOFICA unit installed with the remote switch wired up nicely. It's worth mentioning that despite being a metric car, the brake pipe unions are 3/8 inch and not 10 mm. A 10 mm wrench will not get them tight enough. Couple of shots from the side, now that the car's off jack stands and on its own wheels again.
-
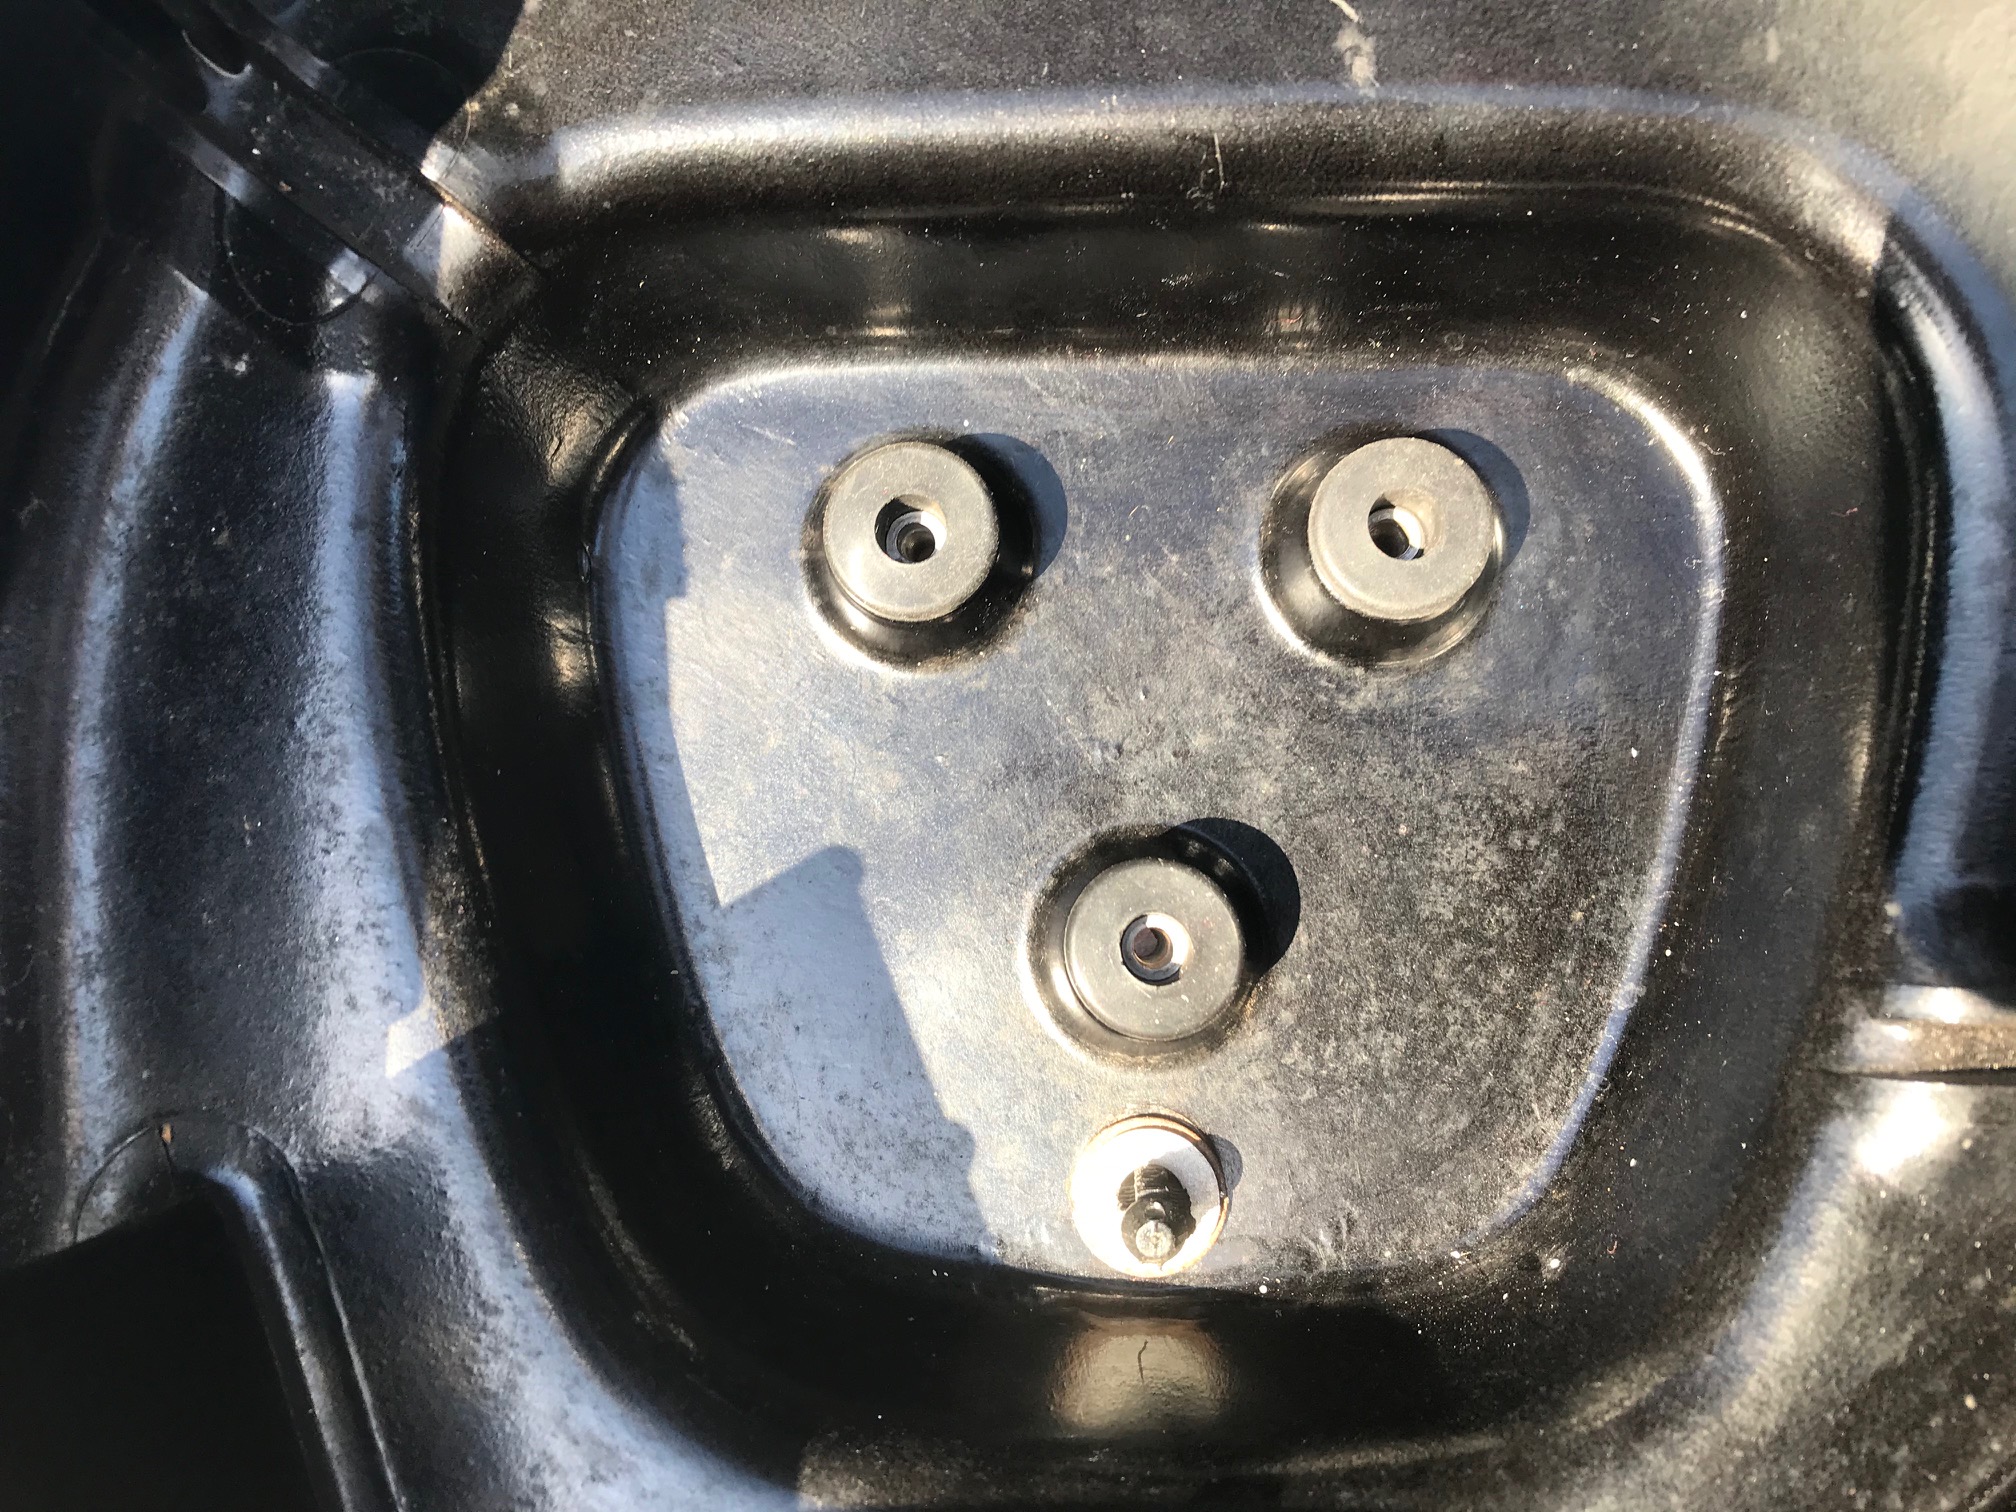
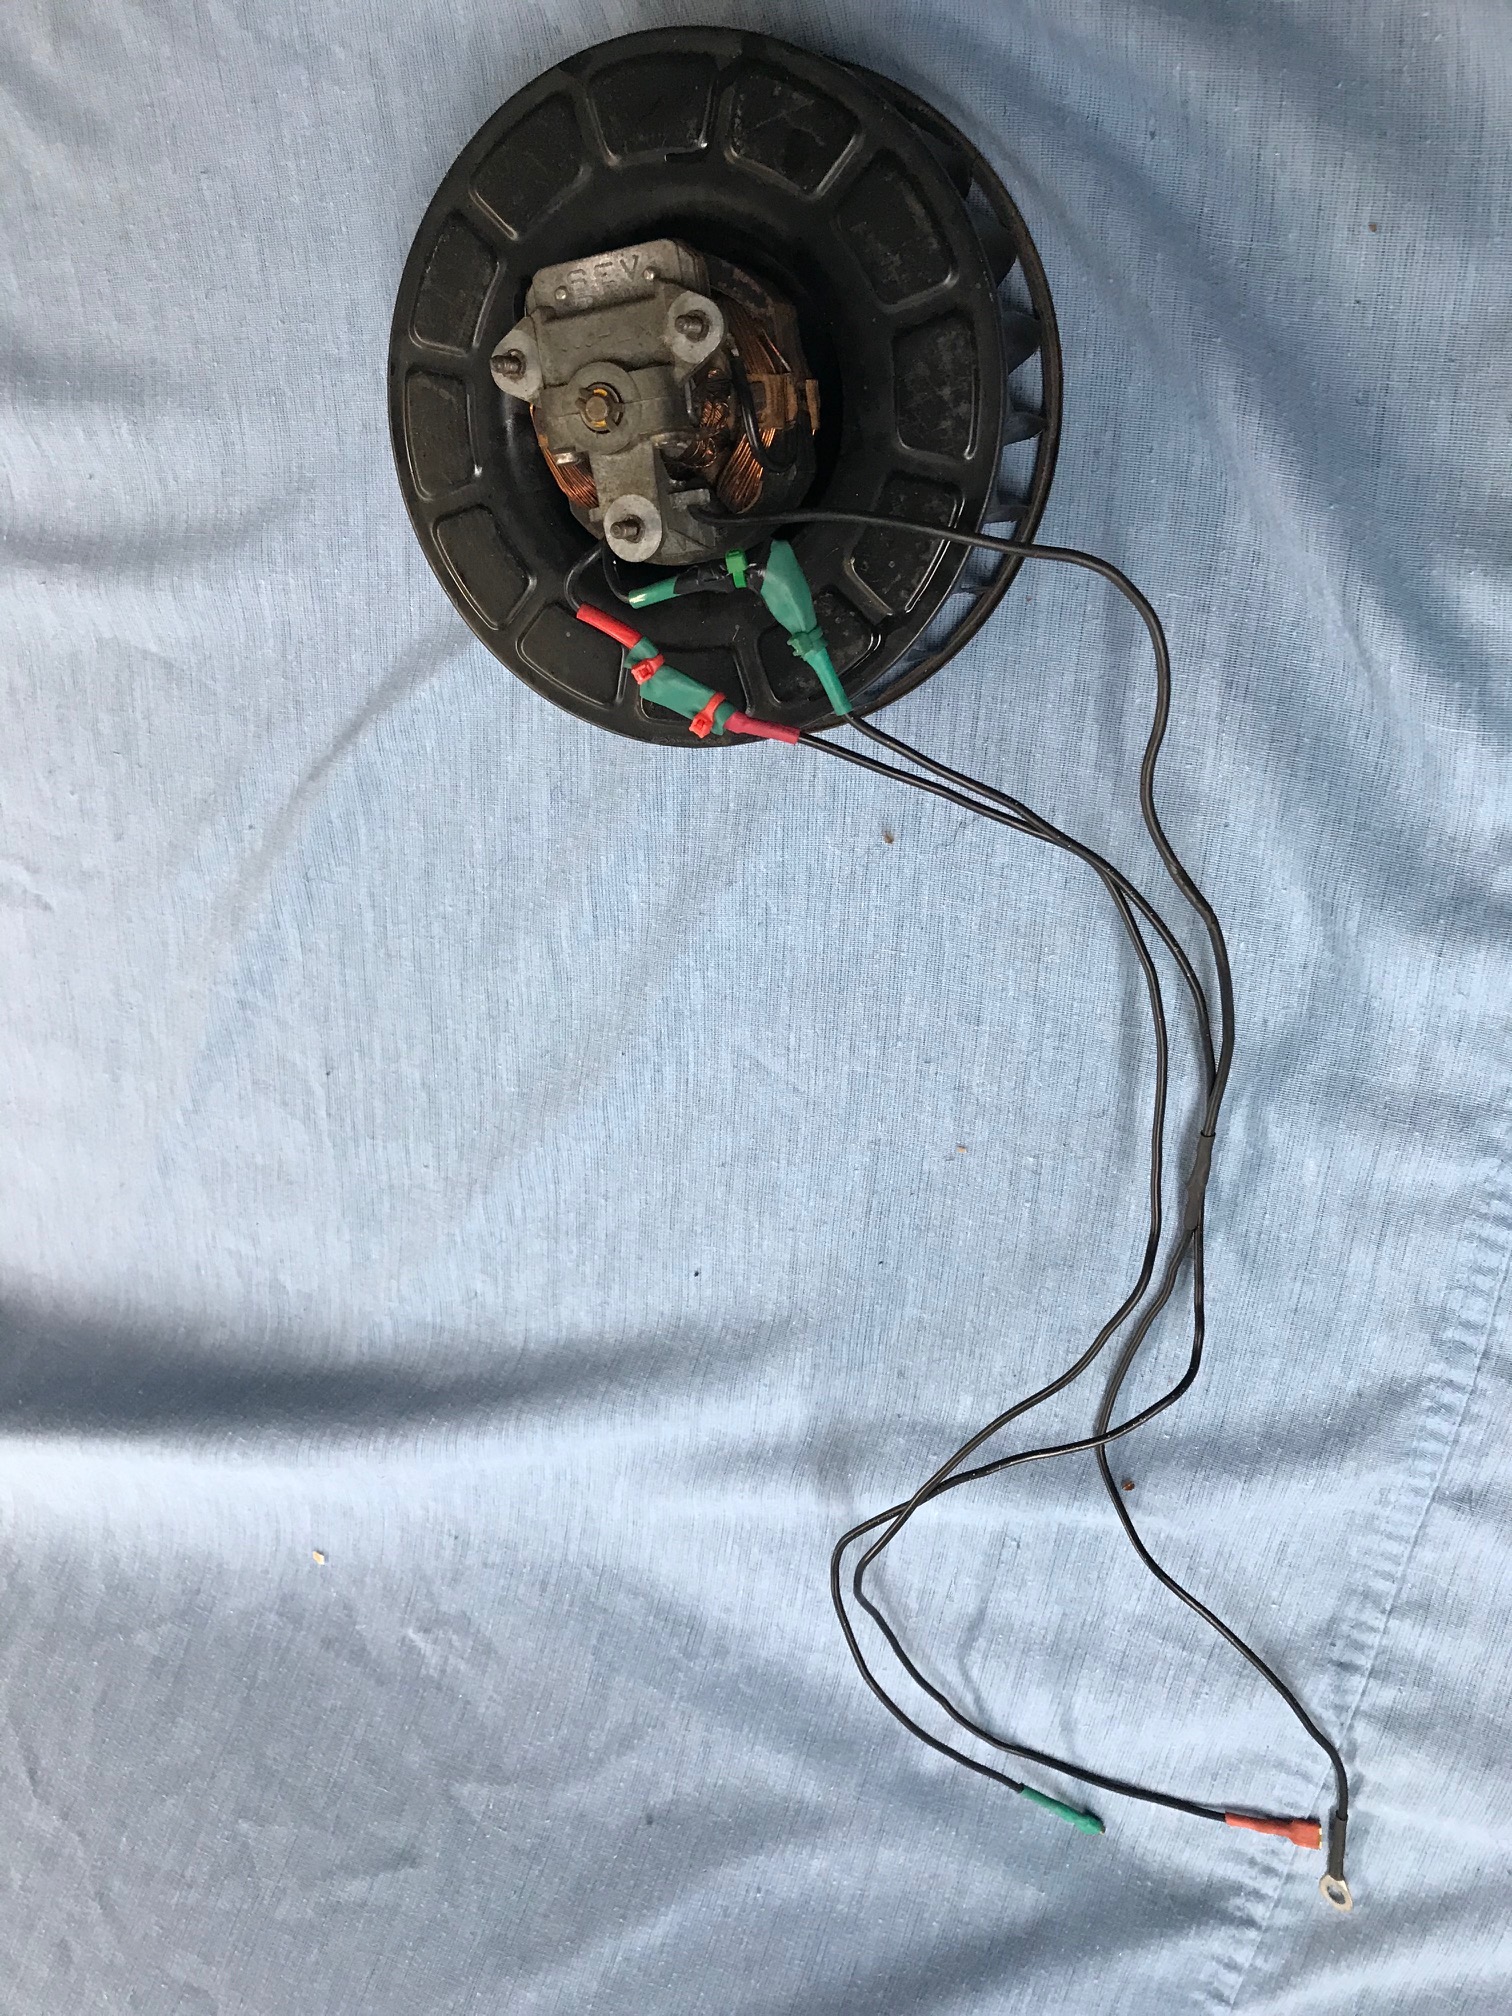
The next step was to find rubber mounts for the blower fan motor. The originals were gone and scrap anyway. I thought I'd have to make some but Duncan Auto Parts has a chest of grommets that are surprisingly useful and they had three that fit. The originals were split in half when new and inserted from either side. I decided to see if I could squeeze these new ones through in one piece. Yes is the answer. So I did. I had to make special provision for the wire extenders for the switch because they run near the blower now that they have to exit the housing instead of just going to the switch on the bottom of the housing. So I taped them down with aluminium duct tape to keep them away from the impeller and had a lot of fun getting the nuts threaded but in the end it's all good!

-
Peugeot 203 owners from Vancouver, BC?
Mike T replied to Chandima's topic in General Peugeot discussion
There is a 203 in Vancouver owned by a fellow I know. It's not restored and came from the USA originally. Probably the same car you are referring to. On top of that there is one more 203 that is in ICBC's database from BC that may or may not still exist. I have the VINs of both. Another friend in Alberta has bought a Canadian market 203 from 1955, which is presently located in Ontario but soon (post-pandemic) should be in his garage, for a full restoration of this historically important car. -
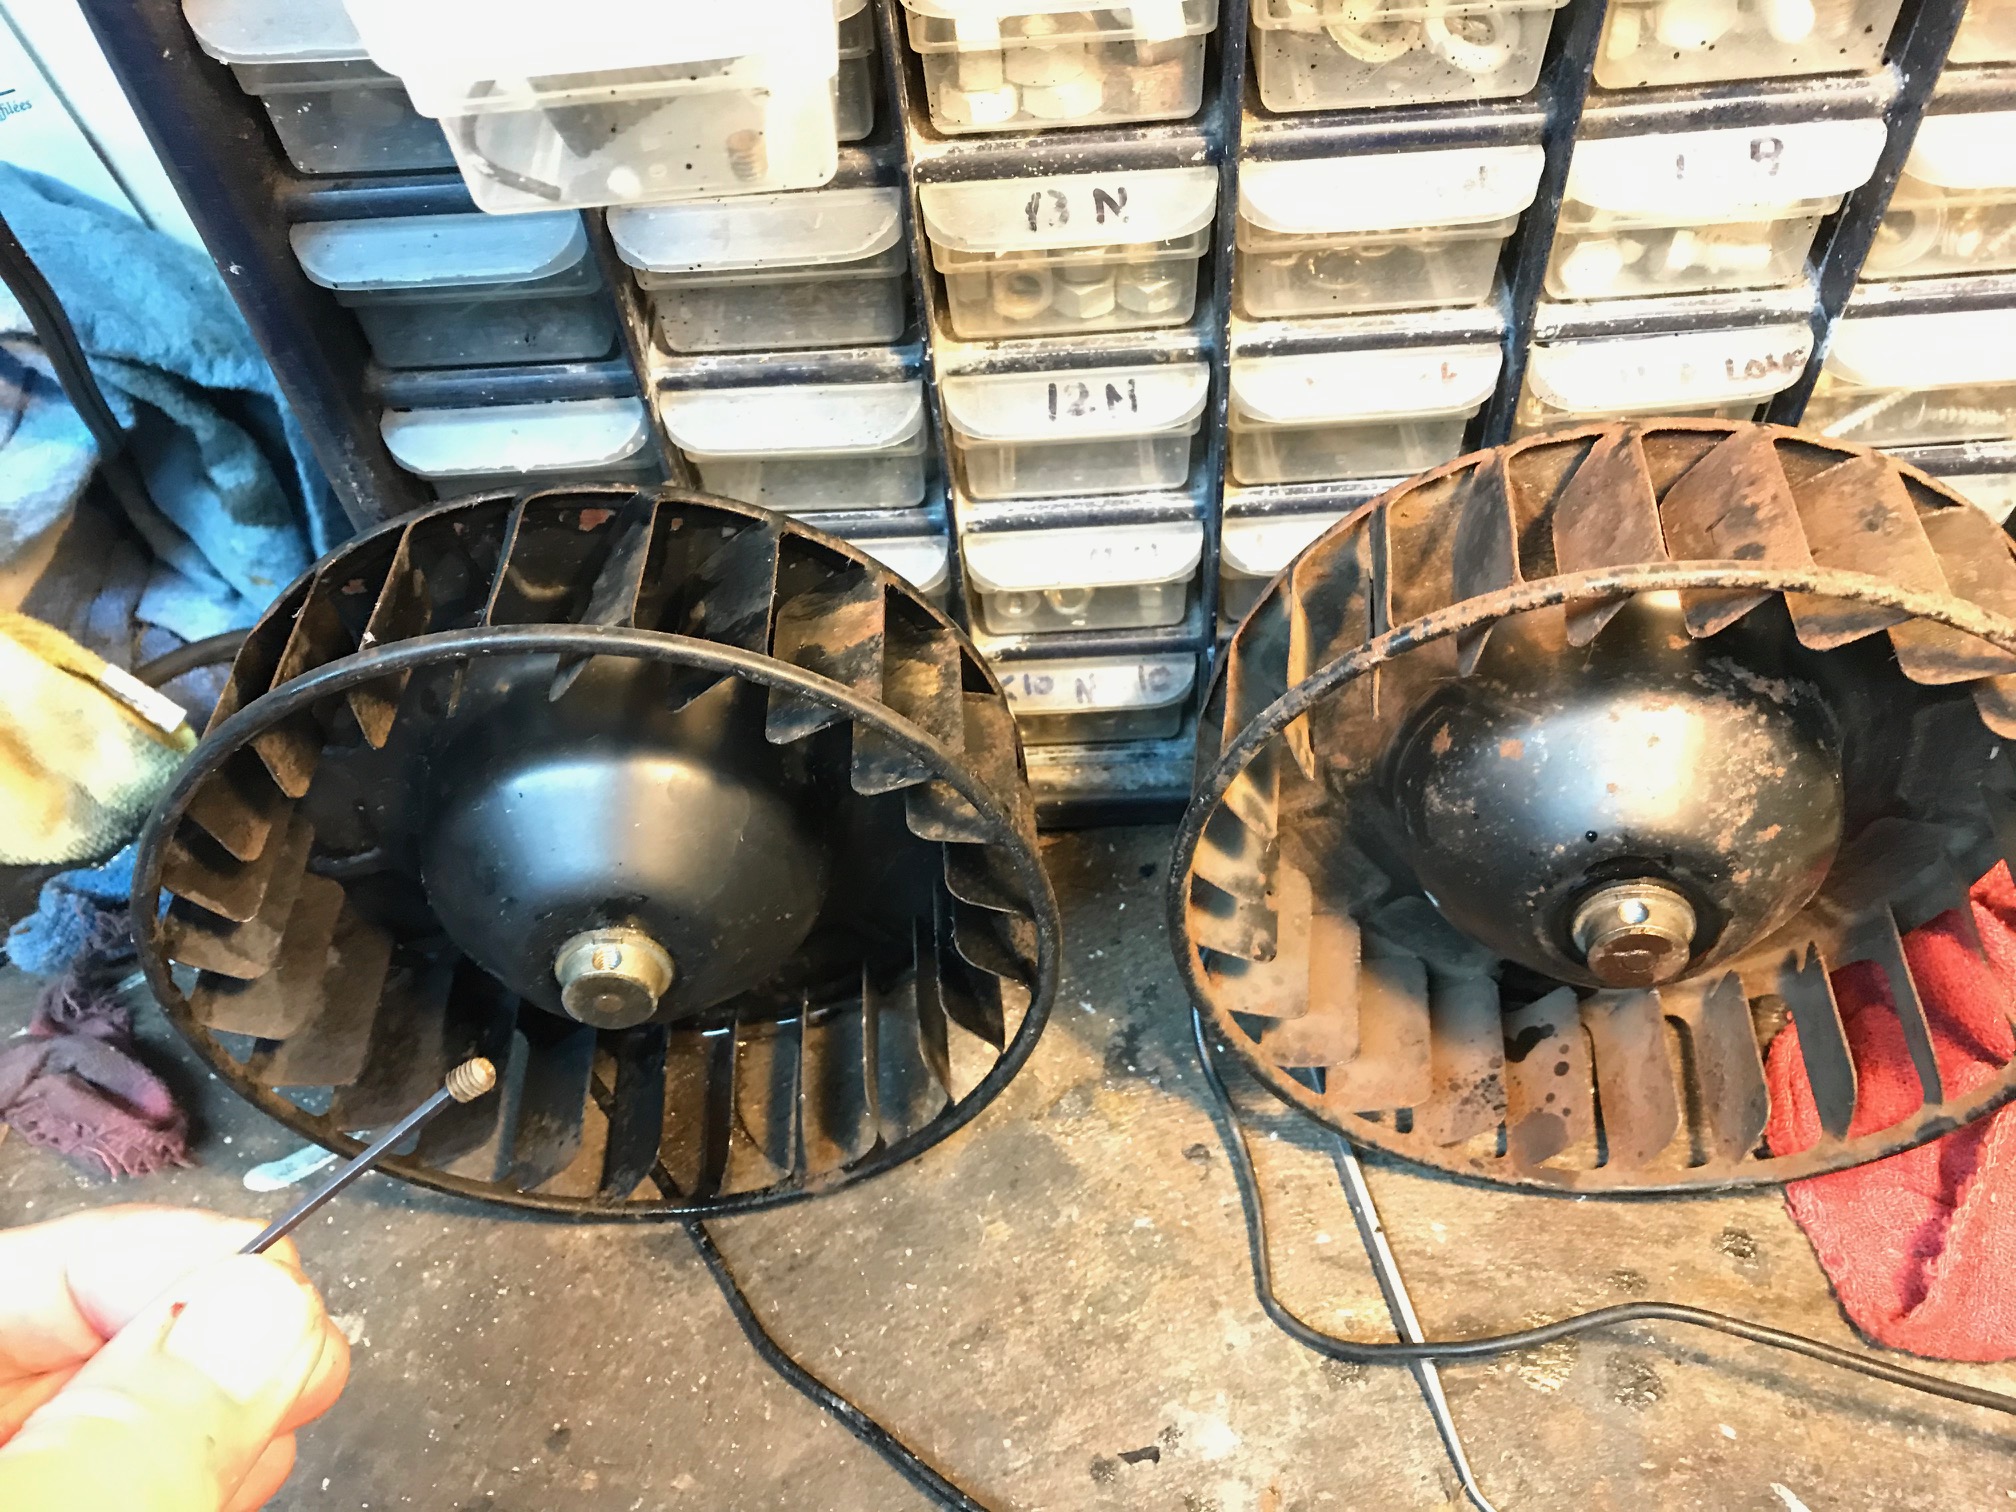
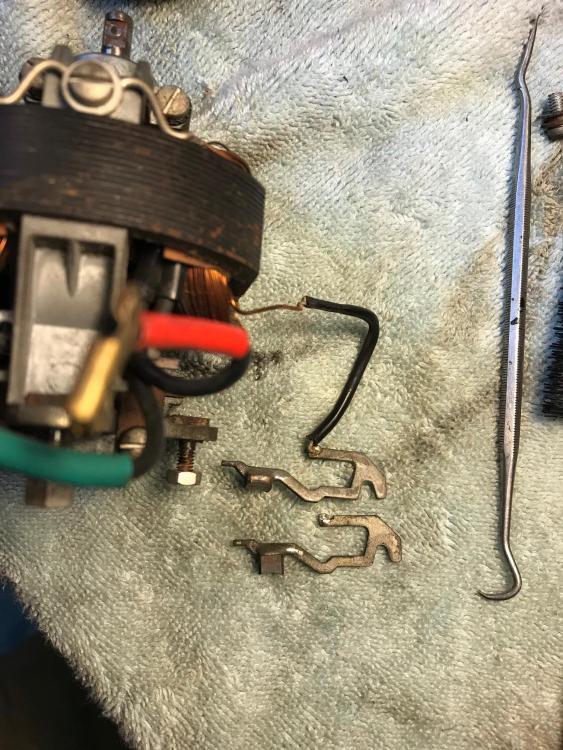
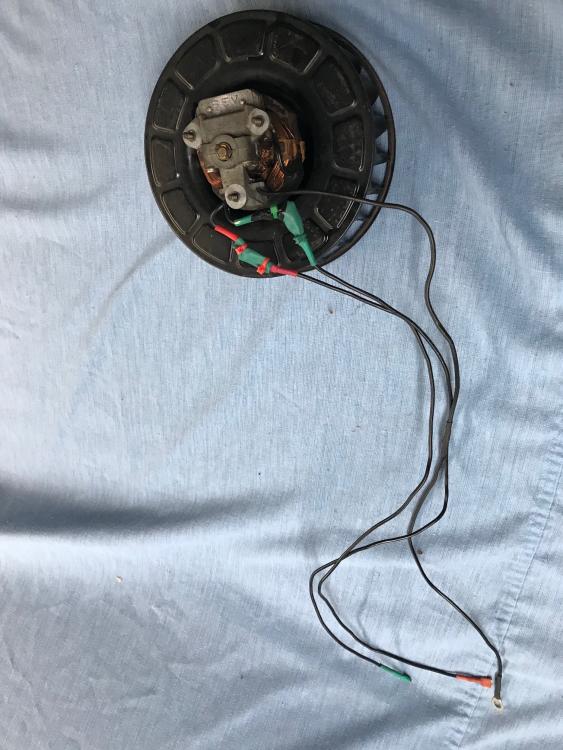
Both commutators are good. For now I won't worry about it as the brushes in the motor should be good for 2000 hours.
-
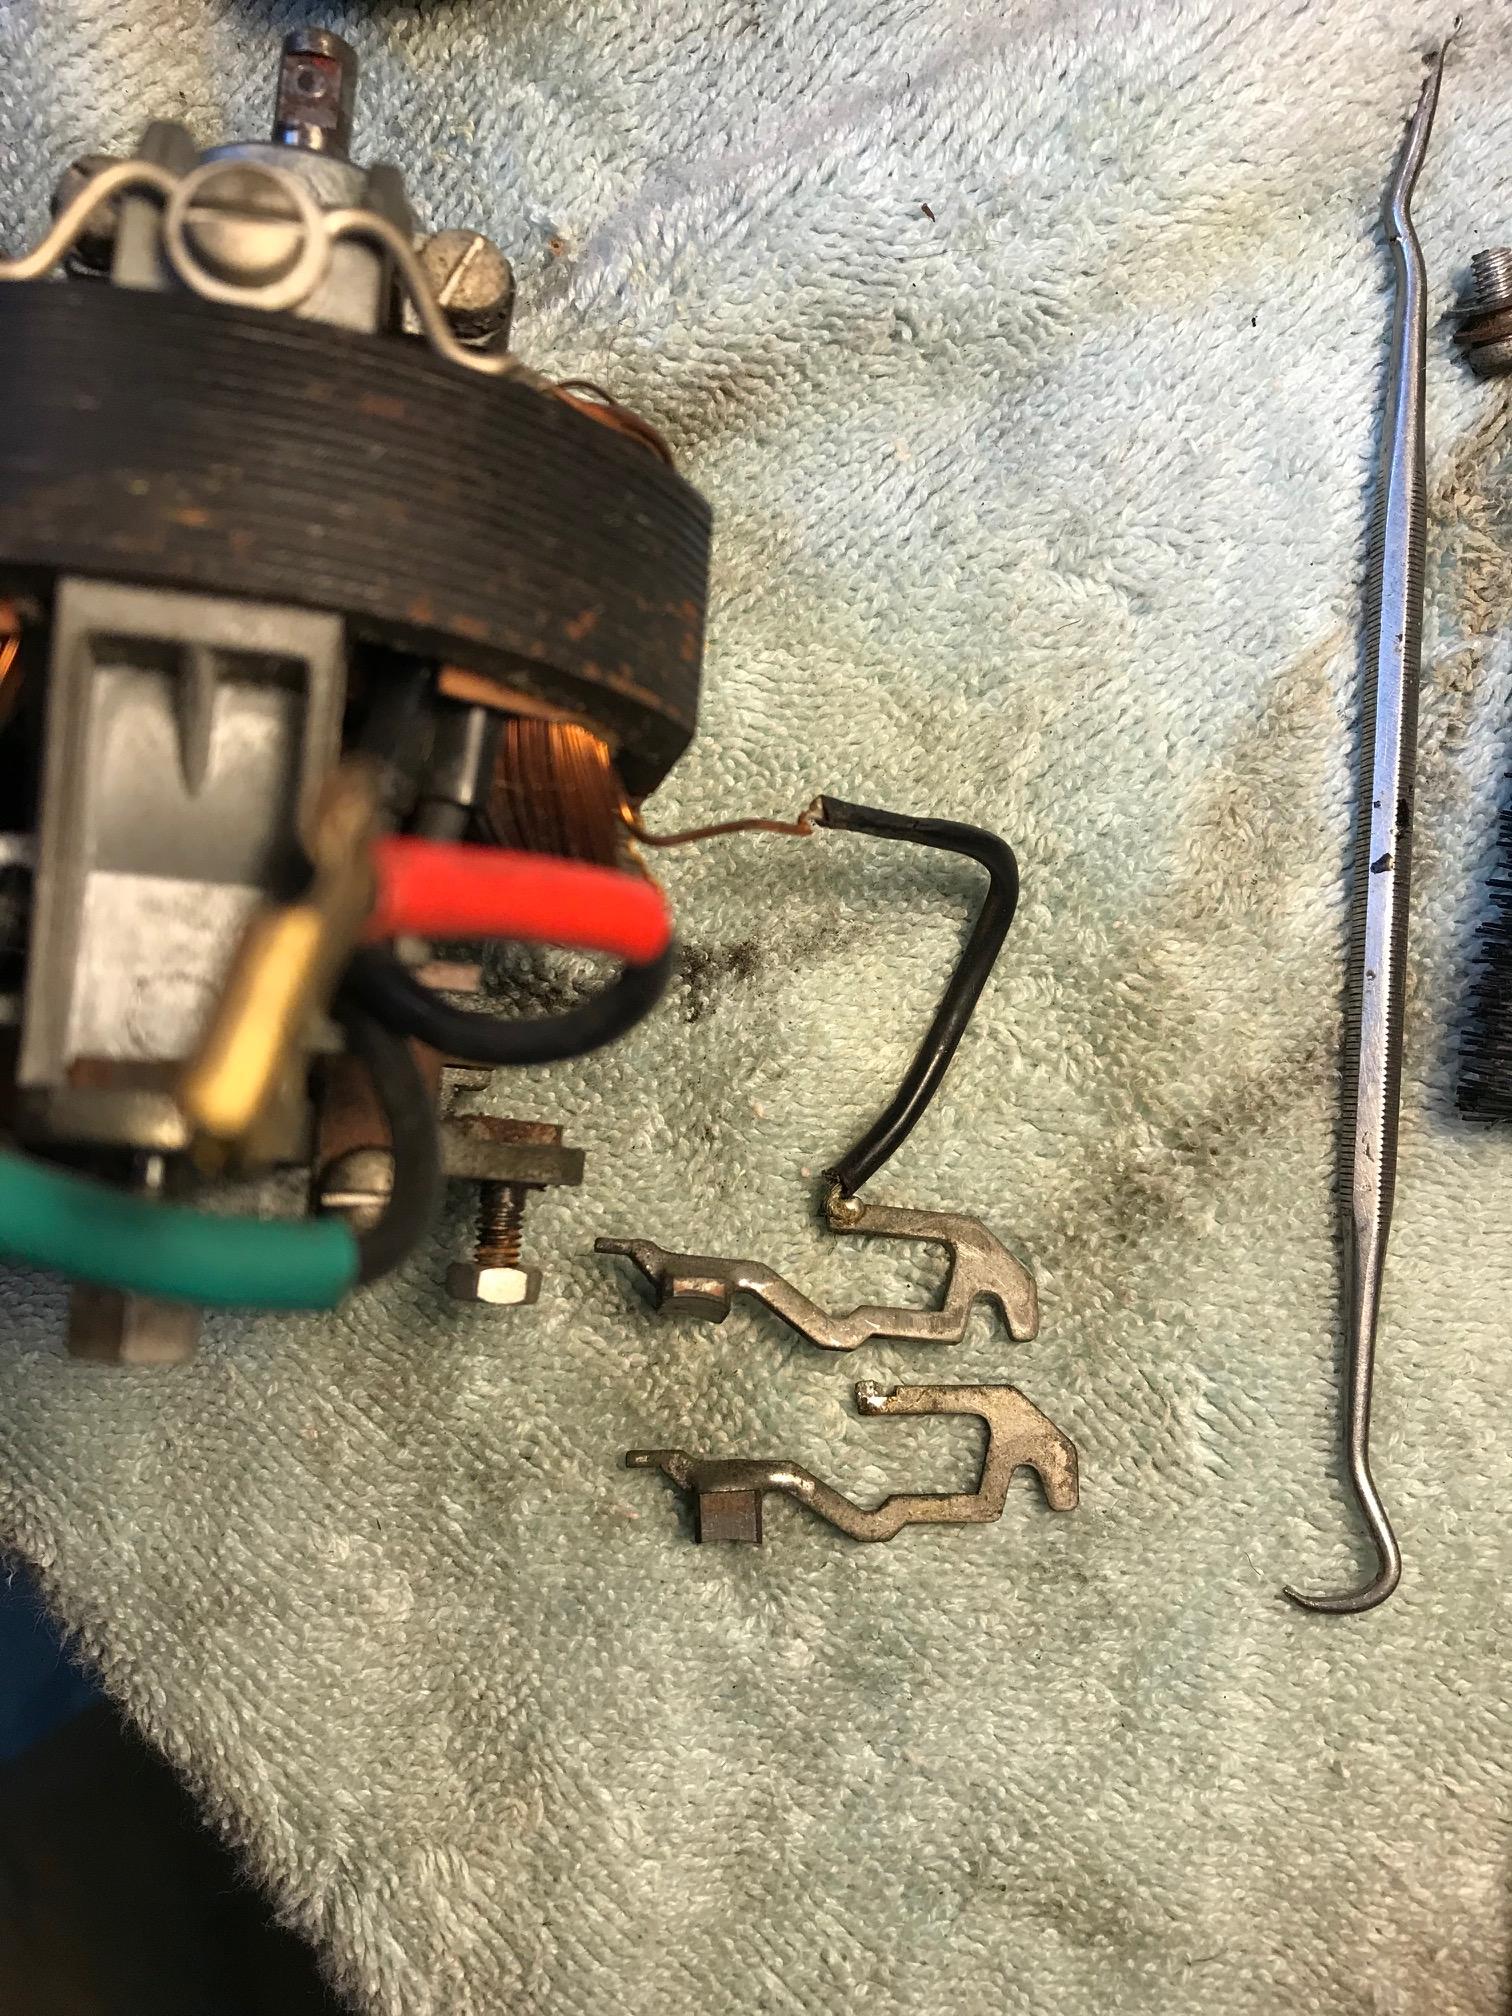
Here's a shot of the brushes. Top is the one from the "good motor" - pretty much worn out. The bottom one is from the "noisy" motor - decent. I put the decent ones into the "good "motor.
-
Today I did some work on the SOFICA blower unit. I have two. One had a noisy motor with lots of end play on the shaft, but much better brushes than the other one, which was quiet and had very little shaft play. So I swapped brush holders, which meant a little bit of soldering. Came out very well. Then I extended the wires so the two speed switch that I have relocated from the blower unit to the dashboard can be fed, and found a good blocking plate for the switch hole. The thing I should have got before now is a set of new rubber mounting washers for the motor, which is bolted through the front of the SOFICA housing. So, before putting the motor into the housing and putting it into the car I will see if I can get a new set of those.

-
Update: thanks to Daniel Goron in southern France for positively identifying the two fuel tank connections - I did it correctly in the first place!
-
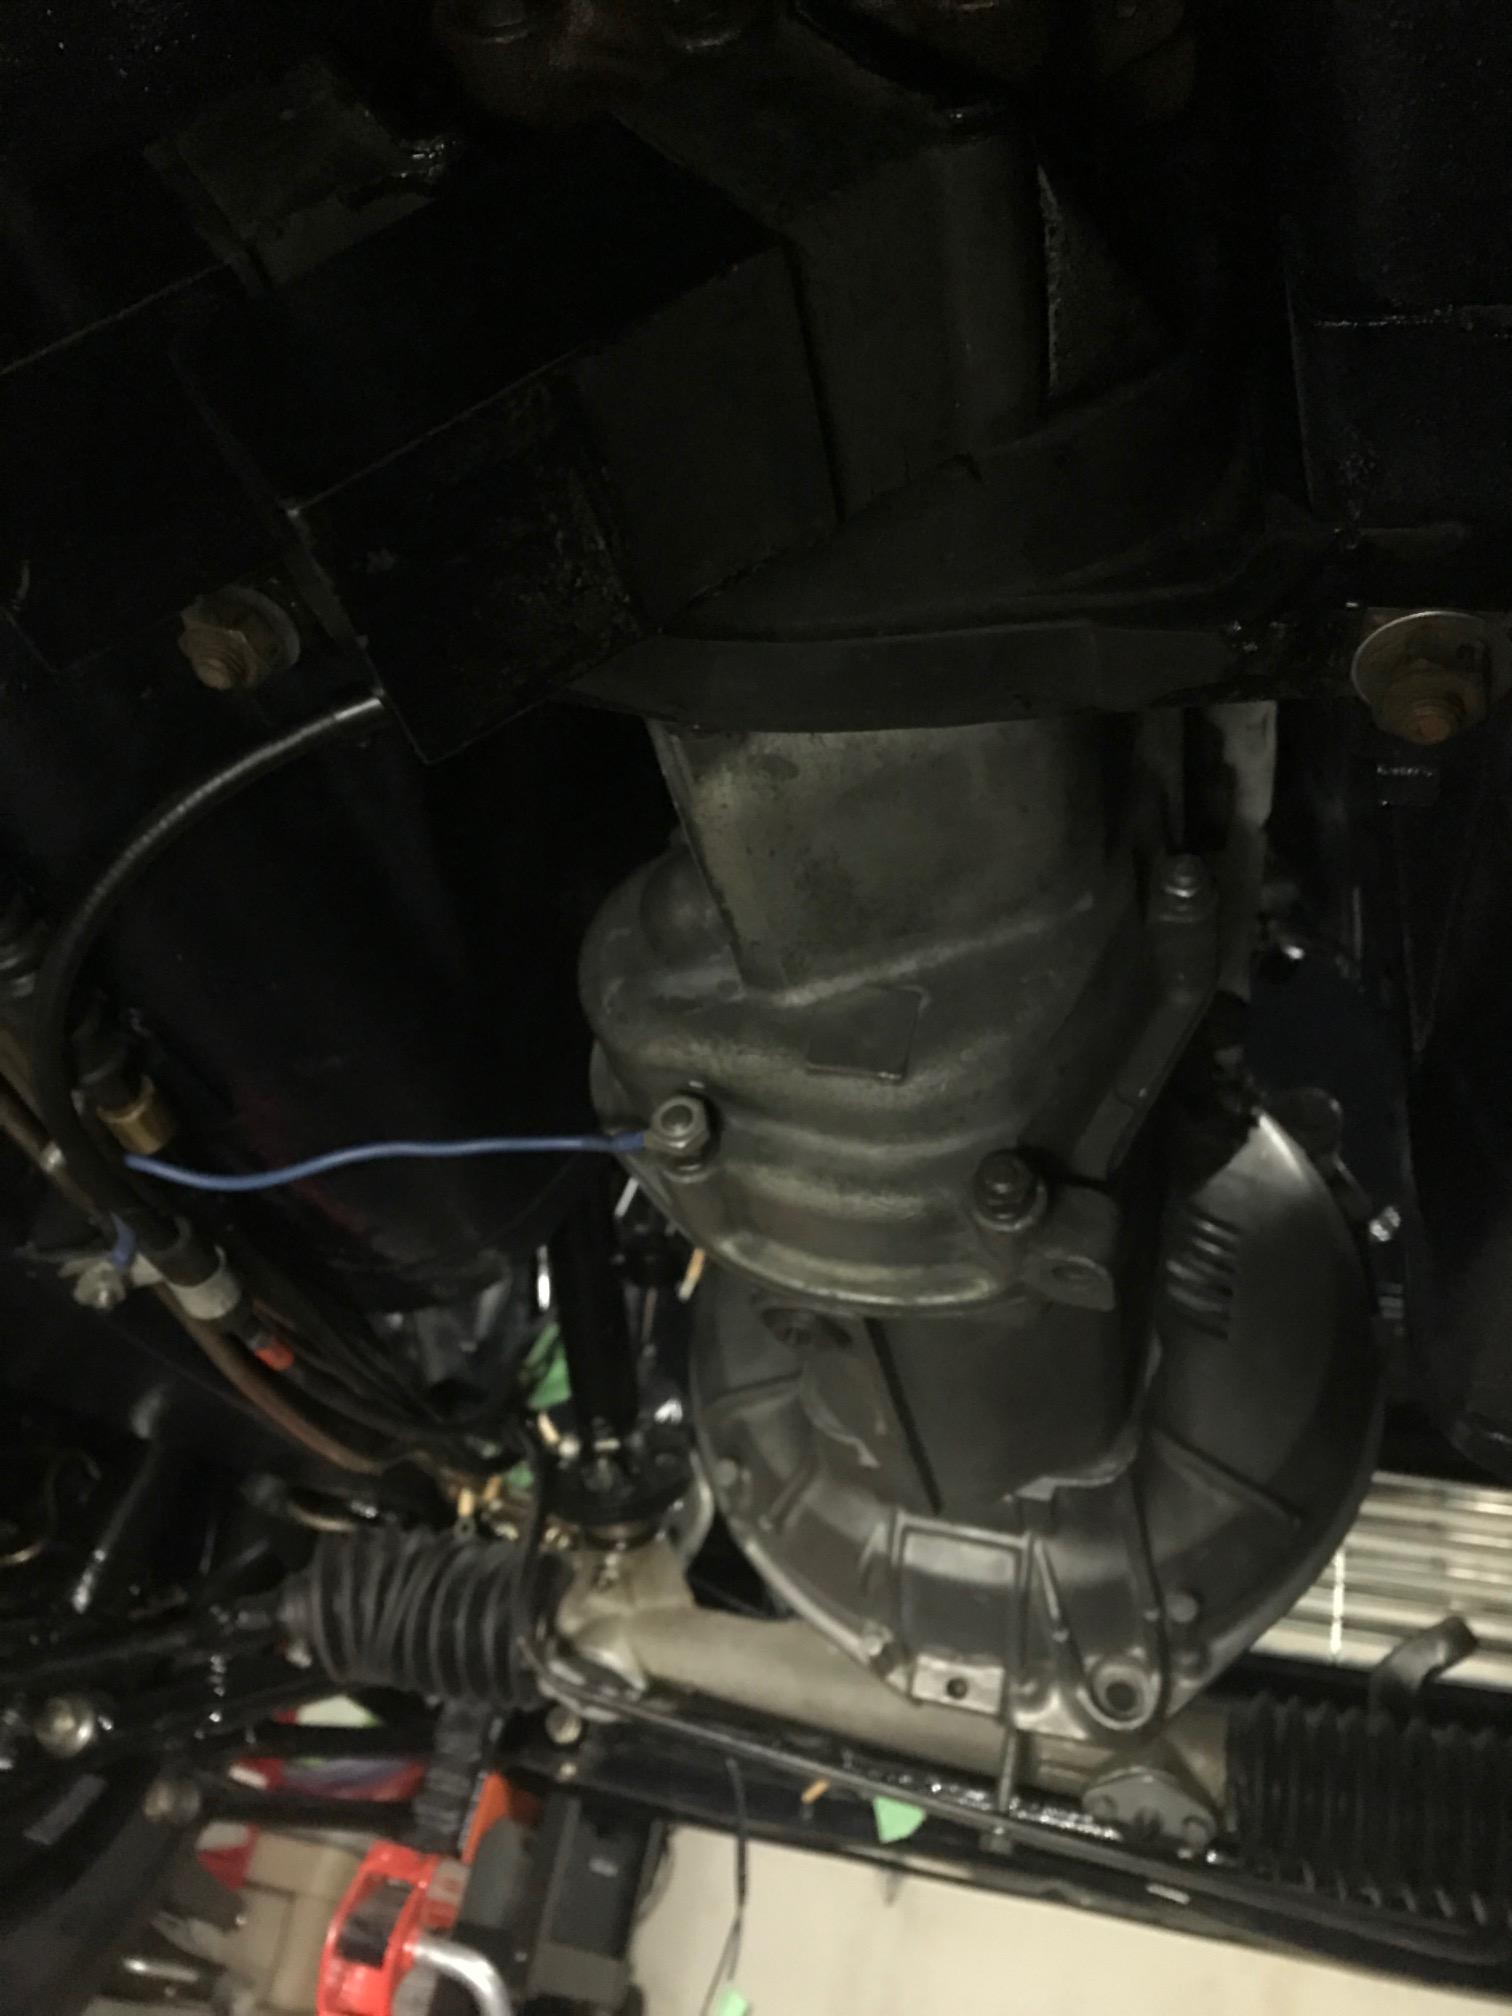
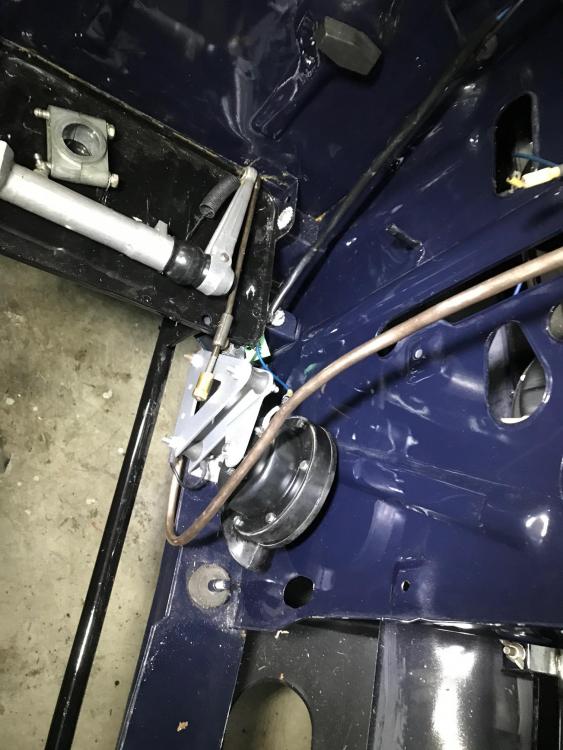
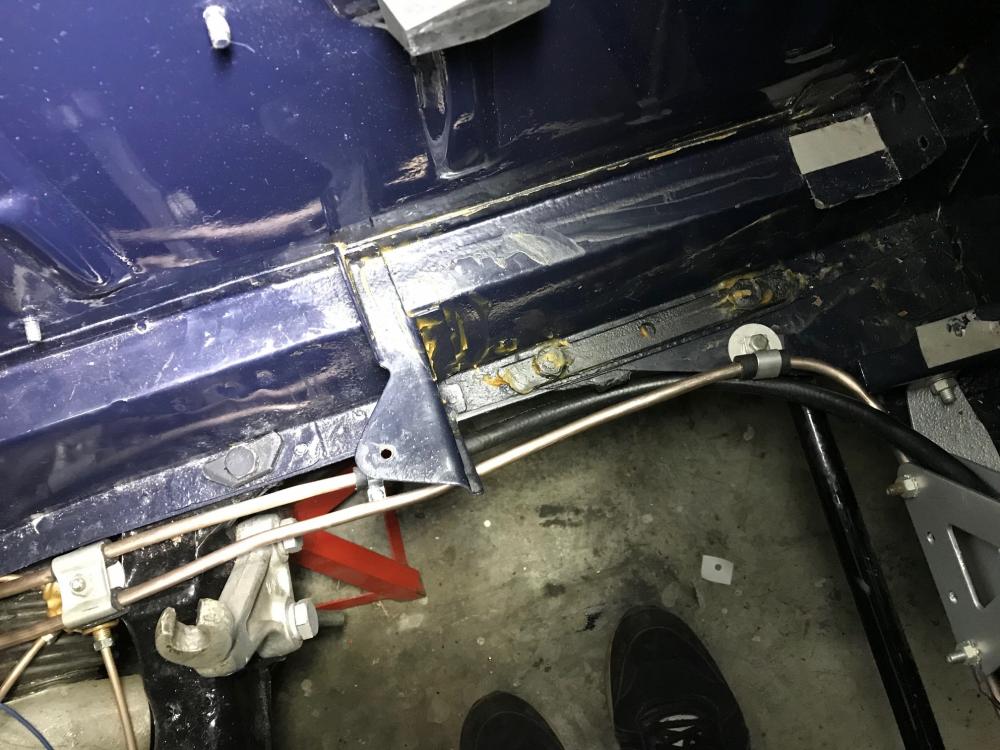
A year later and before installing the engine, something had been bugging me. The fuel return line I had installed a year ago was too short and ended under the clamp you see on the left side of the photo. So I had installed a rubber injection-rated fuel line with clamp and clamped the whole mess under the holder. But it seems not rigorous and liable to cause leaks or some other problem over time. So yesterday I bought another 16 feet of 5/16 inch Cunifer line and made that line over again. Now it reaches to right under the fuel decanter filter, which is what it's supposed to do, with no hose clamp under a clamp that would be nearly impossible to access with the engine installed. Much better! I still don't know which is the fuel supply line and the return line, but if it's not the one I've connected to I can easily switch them. The rubber fuel line you see on one Cunifer line is going to be cut again for an inline fuel filter. I also started tidying up the blower units and hope to be able to get the best one working and cleaned up.

-
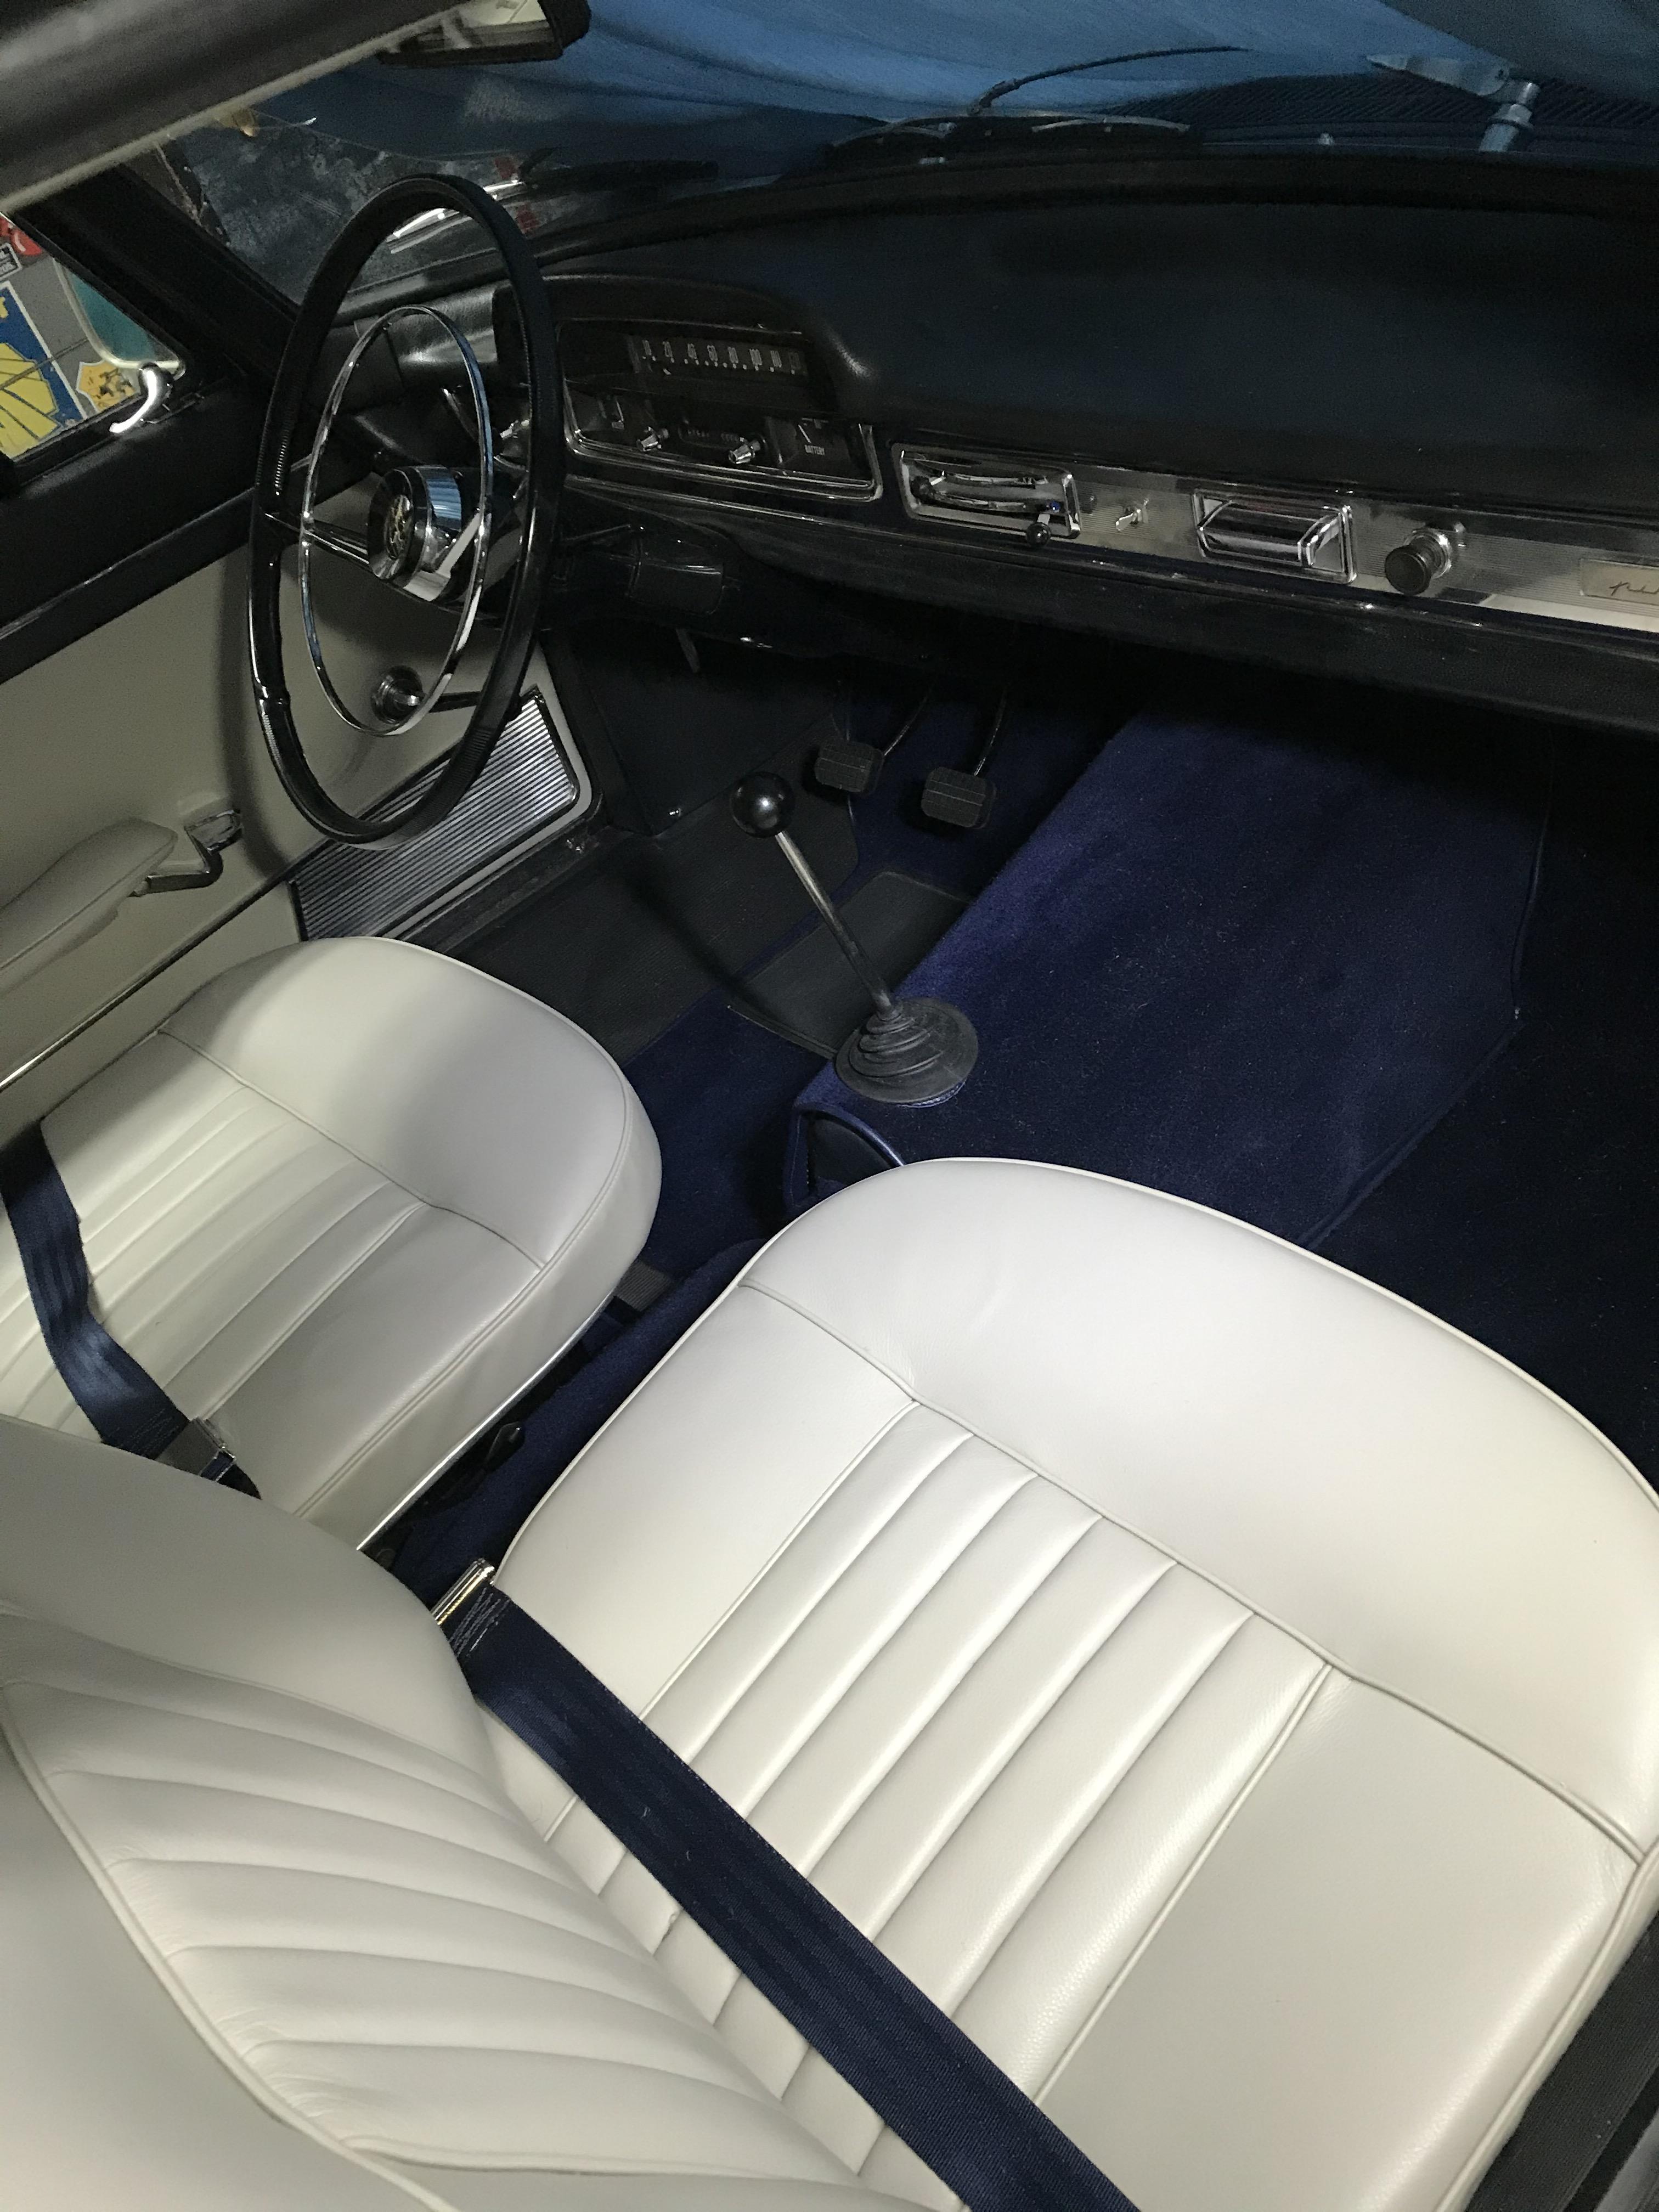
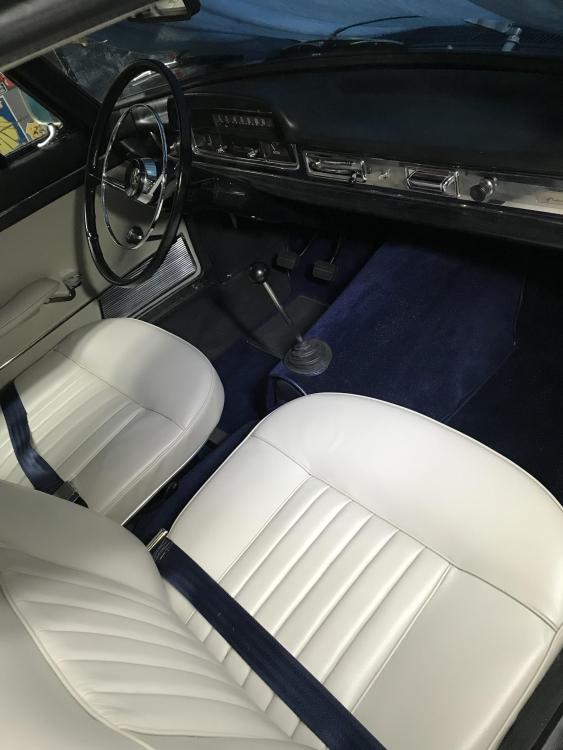
I mounted the carpet on the transmission tunnel after the removable insulation and fibreglass shells were installed. I think this will be a provisional job because I realize now that the original carpet piece that the new one was modelled on was not the optimal shape for the area behind the shifter. You see the drop-off after the shifter boot, well that is about 7 cm shy of the end of the rear tunnel carpeted section. I guess the original carpet had a separate strip for that area. So I made one up from the dark blue original tunnel carpet and it looks presentable, but the rigorous solution would be to have it all in one piece, with the lower section being part of the main tunnel carpet but shortened so it fits the radius of the lower tunnel ideally. So when the car is on the road again and Covid-19 is under control I will visit the guy who made it and have him custom make another one in one piece.
-
Drill them out! If they're that bad, how bad is the bodyshell....
-
Slow but steady. I also dropped off the valves and gaskets, head bolts, valve stem seals, new valve springs and a few other "long block" items at Anderson's Precision Engines on Monday and will have to take a few bolts down next week (camshaft, camshaft retaining clamp, couple others). I hope to get the long block back in January and begin final engine assembly by the middle of that month.
-
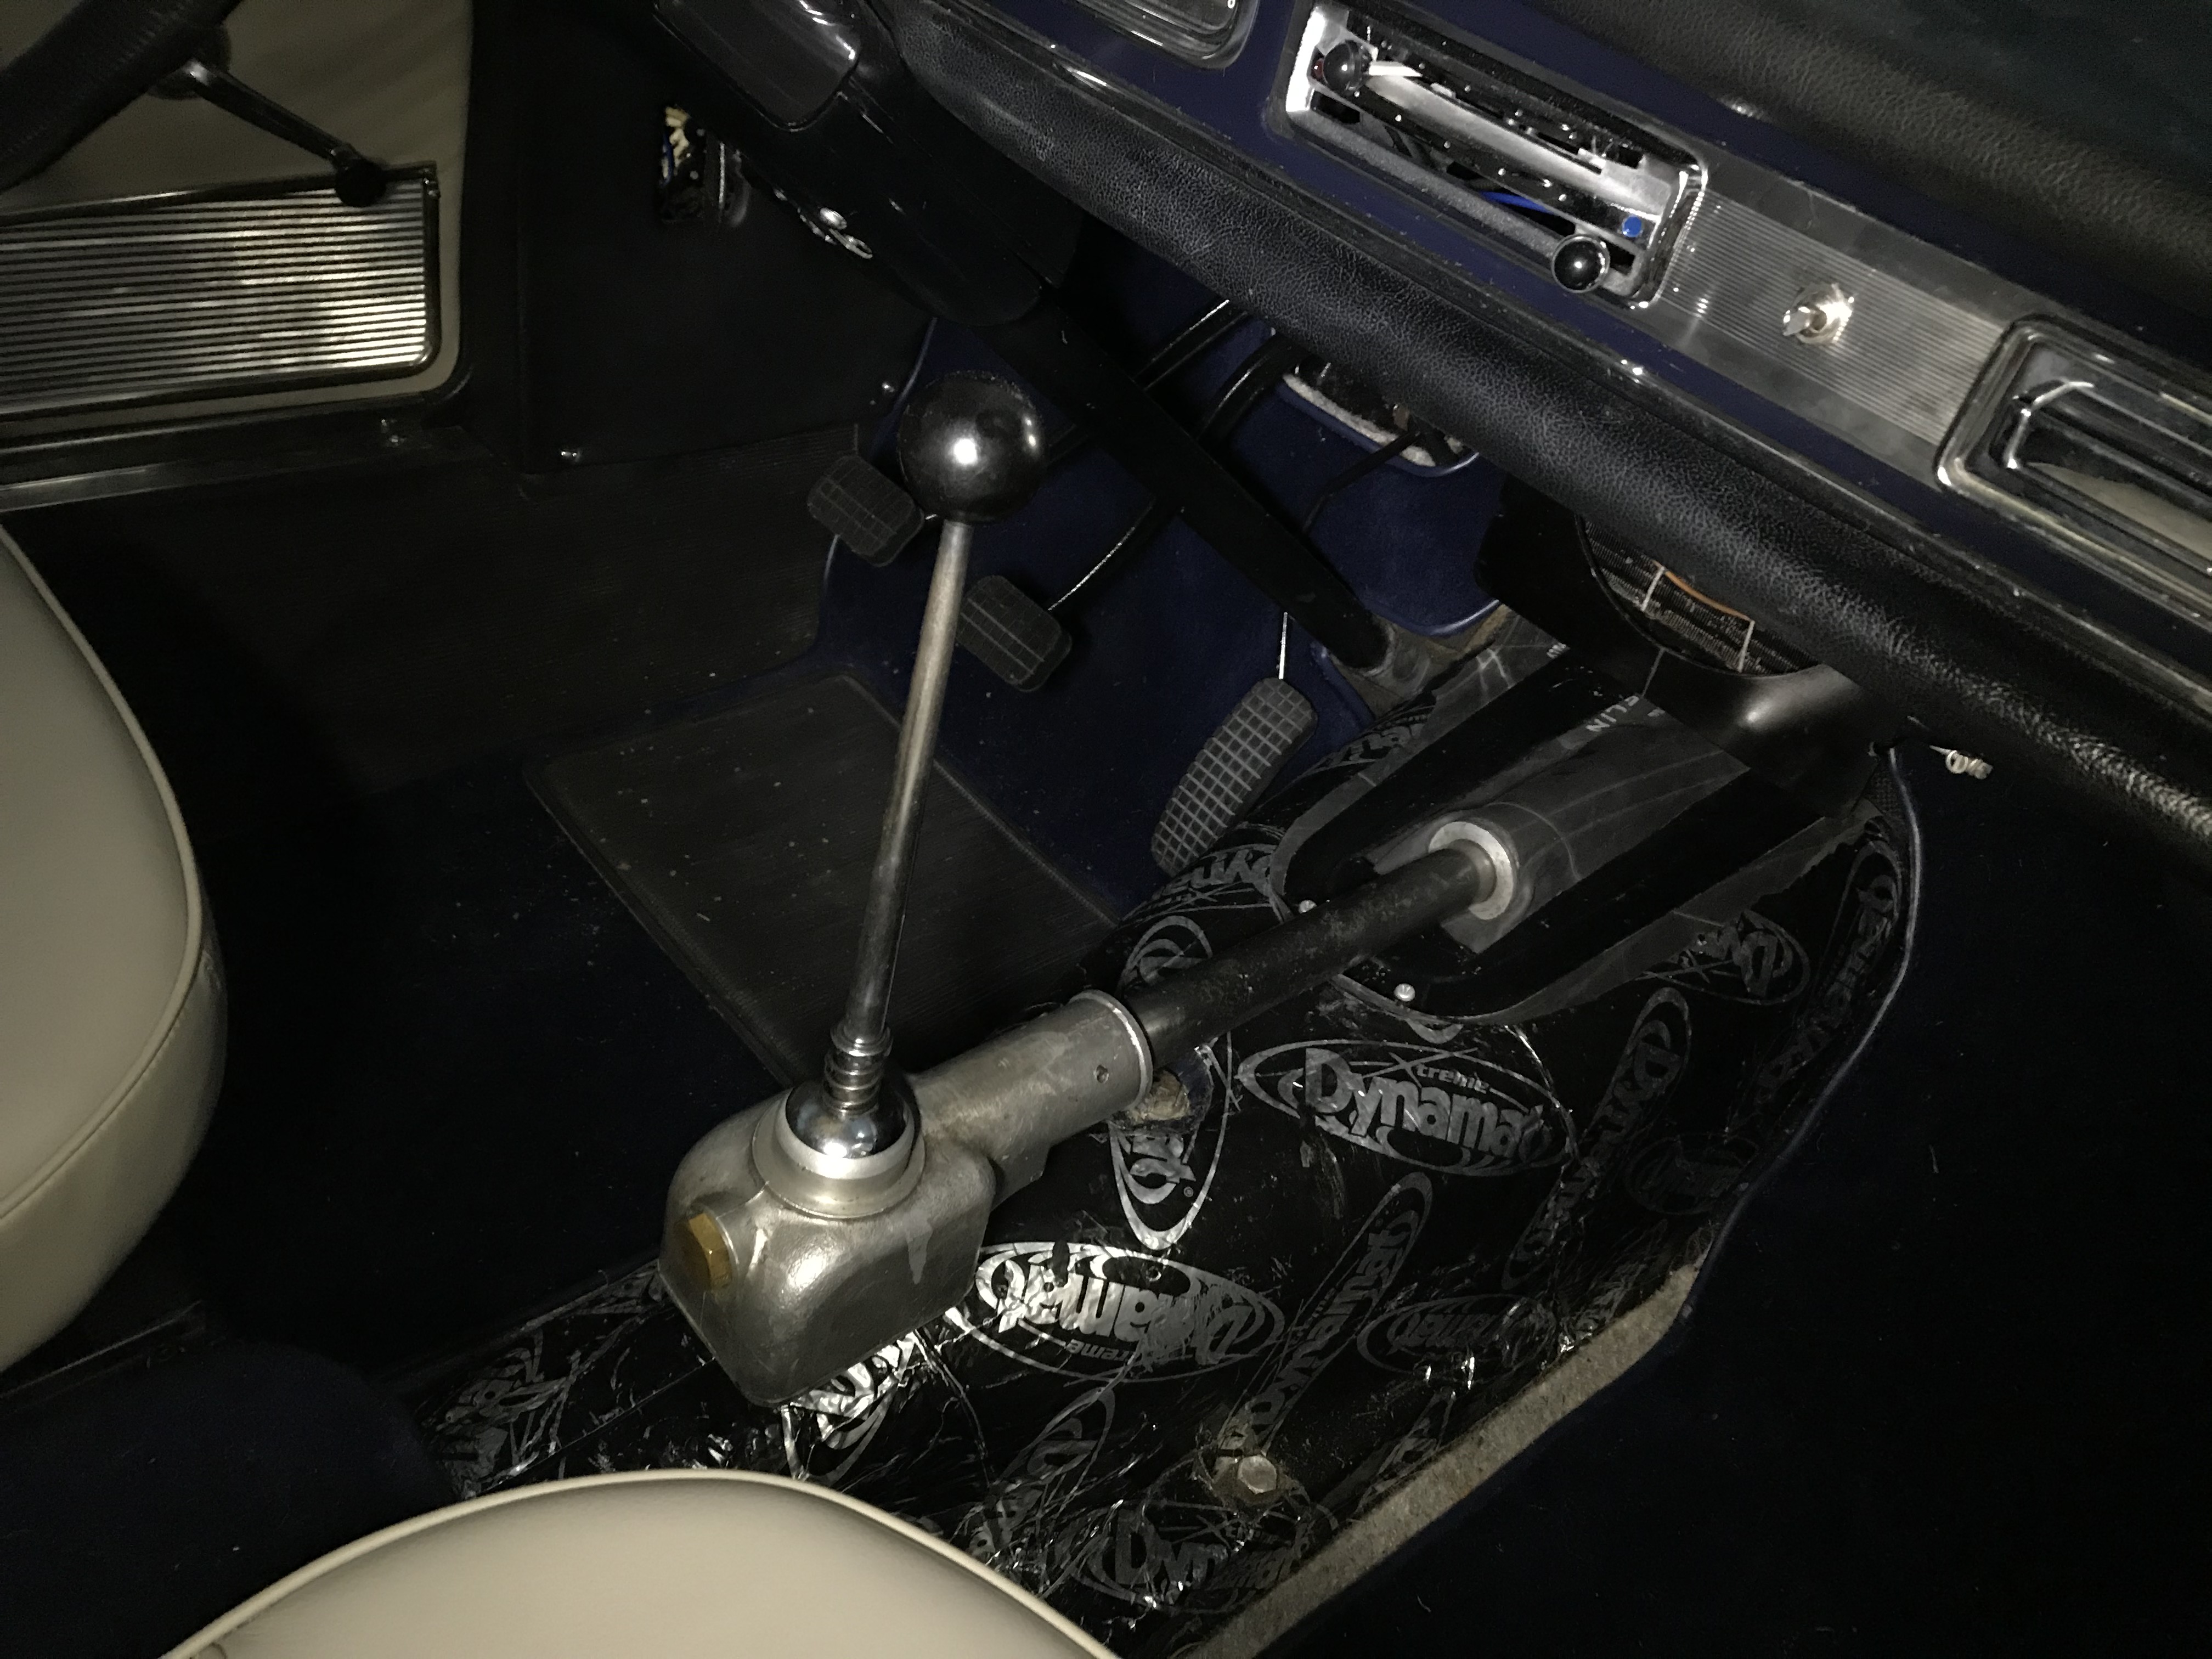
Today I installed the Nardi shifter. It's tight getting in there to tighten the bolts. Shifts nicely. A Michelin inner tube was cut up to make a weatherproof seal between the bodyshell and Nardi, as per the original (but mine is better!). Next I have to cut up some insulation to fit both under and over the fibreglass Nardi covers, which will take some trial and error, and finally fit the tunnel carpet over all that.

-
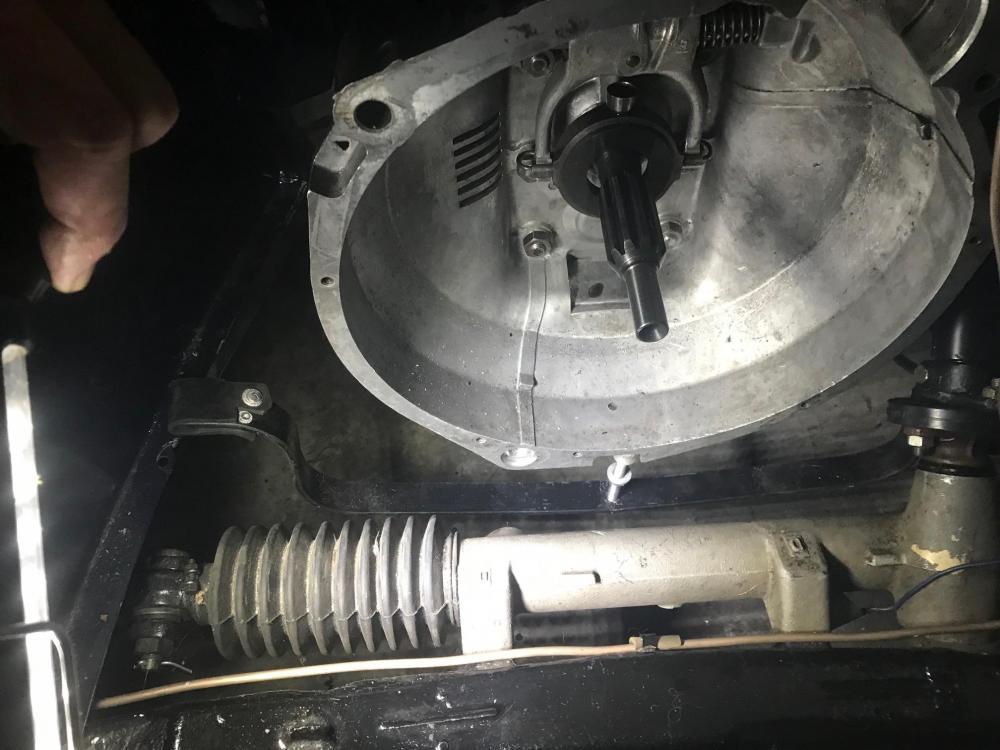
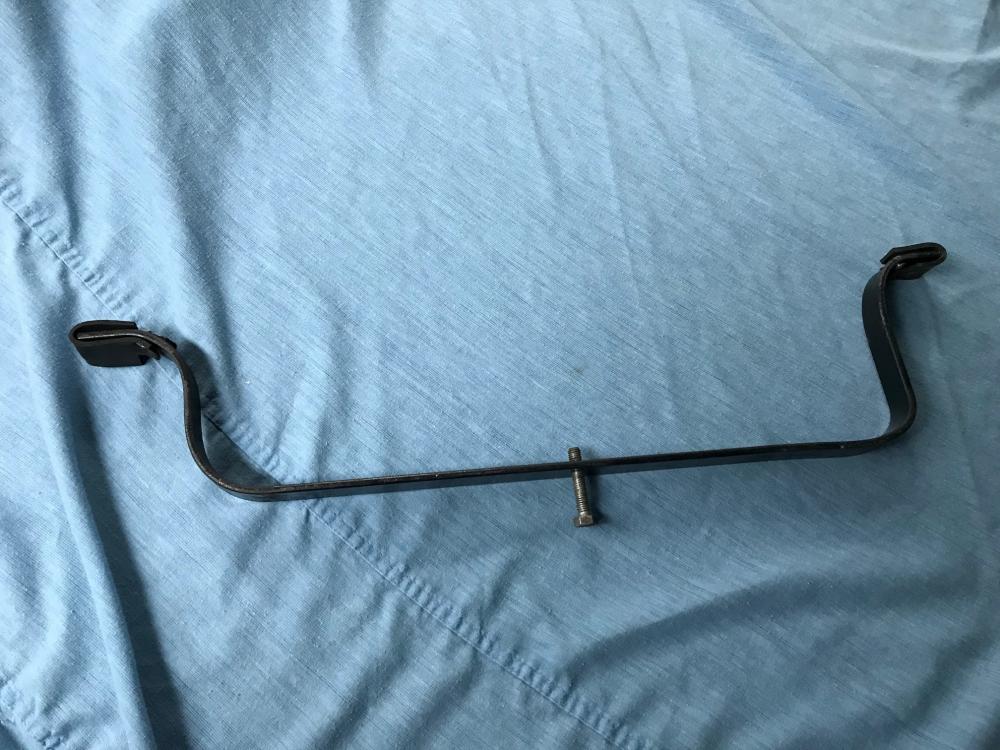
Today I took a few hours to build the tool to support the front of the gearbox when the engine is out and also install the gearbox. The tool was decent but I should get a bit longer bolt or adjust the bends a bit to make the dip a bit shallower. I think a new bolt would be better. I improved on the factory design in one respect at least: mine has rubber ends riveted on so the support won't scratch the chassis rails it sits on, at the bottom of the engine compartment. The Nardi shifter is not installed yet - I will do that soon, maybe on Monday or during next week or weekend.

-
Joe's '91 405 Mi16 (and '90 SW and '92 Mi16)...
Mike T replied to 91MR2's topic in Member build threads
Carbon fibre-look wrap #1 - 1970s station wagon macatac #2 ? -
Thanks!