keebs
-
Posts
209 -
Joined
-
Last visited
Content Type
Profiles
Forums
Gallery
Events
Collections
Everything posted by keebs
-
So far the manifold test results are positive. Some fuel had to be taken out in the idle-cruise parts, but I attribute that to raised efficiency not power loss. At a constant throttle opening during cruise higher vacuum is being maintained with 1-2% less fuel. In boost 2-5% fuel was added to maintain the same afr and power falls off less after 5500rpm. The boost solenoid duty cycle also had to be increased 8% to reach the same target of 1.15 bar.
-
Well I sure hope you manage to get your stuff back so you can get started.
-
Thanks VM. I guess they are in your neck of the woods. With all due respect Rabin you're headed down the wrong (long) path. My point is you will probably reach max flow before 50% throttle. Some simple area calcs. 60mm + 19% 65mm + 40% 75mm + 86% I'm not arguing nor telling you what to do just stating the truth. To take pics of the seals I would need to disassemble the unit so... no. They're just generic skf 3/4x3/8 double lip oil seals that I pressed in from the outside. The wilson may not be so easy.
-
If it's a wilson by all means skip the can and get some coin for it. Don't let yourself be clouded by dyno numbers, think about the driveability. Also fyi wilsons and most other ford tb's leak like crazy through the throttle shaft so they need extra seals. Yep thats the one. Send Juha an email if you're interested, his english is very understandable. I had the stacks custom made by racerxfabrication. I could've made the whole thing, but you can't beat a cnc for repeatability and the pressed box saved me lots of cutting and bending. Not to mention trying to make a cone out of 3mm alum without it looking junky.
-
Managed to get a few pics out. I'll have to see if my buddy took any while it was strapped to the mill. Yep did all the welds myself which is good and bad since I don't do it enough anymore. I think you may have misinterpreted my throttle body comment. I prefer the 65mm to the stocker because it feels like less of a dog at low openings. Personally I would put that 75mm on the shelf or in the trash can (whichevers closer). Something that size belongs nowhere near something so low output. 60mm would be best, but the way things worked out 65 was what I landed on. Stock manifold isn't really worth playing with since the entry angle is so poor. You could match the ports since they're not even close to the same size or shape. As I recall the head is 41.xxmm wide oval and the intake is a 35mm circle.
-
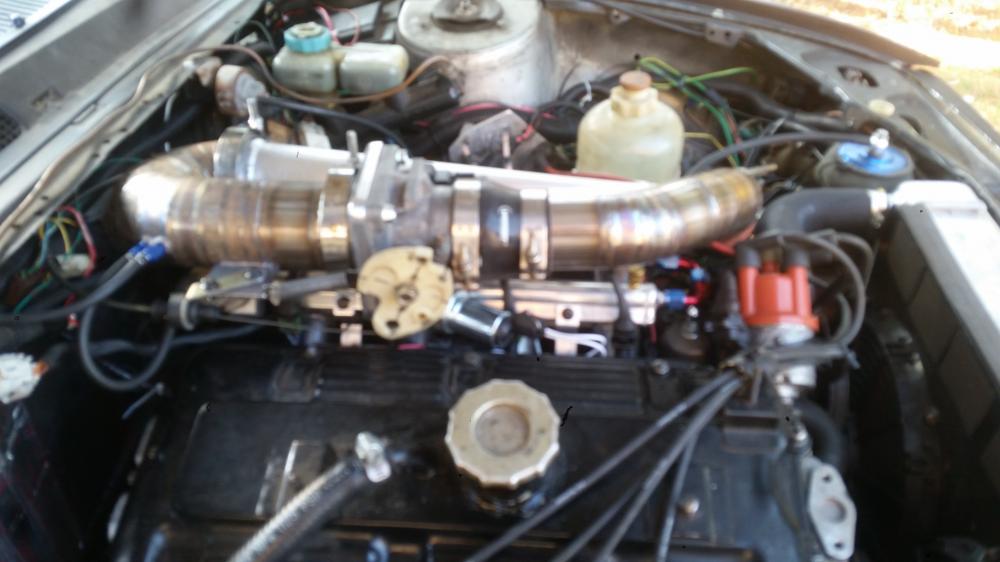
I built it based on the fact that the engine will never produce over 350whp, so this style mani fits the bill. Initially the cone was supposed to mount the other direction, but space constraints with the tb and iac made it a no go. It was a small compromise to make the p/s reservoir accessible. Not much to say about the plenum, its a box. The transition slots are 105-110% the tb size. Like I mentioned above there are velocity stacks about 4" tall and tapered from 2" down to 1.61" which is as big of a taper that would fit. The top of the stacks are about .75" off the plenum floor. From there I welded on another 4" of tube to make the length. Straight pipe, not much to it. We milled the flange bolted to a scrap head to match the port roof angle which we didn't measure, but a guess would be 25°-30° whereas the stock mani is about 5°. That being said the air now flows into the back of the valve instead of the port wall. Injector bungs were installed very close to the head at the best reasonable angle to hit the back of the valves. The stock injectors aren't placed on center so we had to make a new fuel rail to match the new spacing. The thermostat housing also needed to be angled to make runner clearance which luckily I did last spring when I made the new rad. The dipstick also needed a few new bends, and the coolant bottle relocated. I think the mani invades the battery tray too, so thats something to consider. Haven't done much testing as I'm still breaking in a new clutch that had to be put in during all of this. However I'm most happy with the 65mm tb tip in response. It was chosen for this reason alone not as a power adder.
-
Spent the past few months making an intake manifold. Pretty straight forward dual plenum. Some specs. -ford 65mm throttle body with extra shaft seals -around 5l plenum volume -tapered velocity stacks -1.61" i.d. 9" long runners. -alum fuel rail I have more pics, but the data seems to be corrupted. Any questions just ask.
-
I'm not saying an ls wouldn't fit, but it would be a major pain to get in there. You've seen what stewart has done to fit a similar engine. And yes I was referring to the lack of transmission cross member. It depends on your goals. A swap would be easier for parts availability, but if you just want more power the n9t will handle it within reason.
-
Hear ya on that. I wouldn't do the 1jz or the ls1. One is too long, the other too wide. Whatever you choose make it easy on yourself and get an engine with the exhaust on the right side. Btw, before you start you should know the 505 doesn't have a cross member so there's a good amount of fabrication to be done on the underside of the car as well.
-
Honda f22 turbo.
-
When's the last time the o2 sensor was changed? Get some new spark plugs, check for intake/exhaust leaks, adjust the afm if needed. You could also just register it historic and call it a day.
-
No link since it's not in the catalog, you have to call (800)752-9850.
-
Don't waste your money on that gasket, the cometic is less than half the price and hasn't been degrading on a shelf for 20 years. 94mm bore size so it doesn't protrude into the chamber. Buy a wideband, the fpr should be all you need. Injectors and fuel pump won't be needed unless you change to a stand alone ecu.
-
Put on the the sprocket and a pair of gloves, or run the bolts in without the sprocket and use a pry bar.
-
-
I think he's saying that while trying to clean the threads they got buggered. If it's only a few threads you'll probably be fine since they don't need much torque. If you want to fix it get a helicoil, or take it to a machinist. In the future use a small nylon brush and an air gun to blow the crap out of aluminum threads.
-
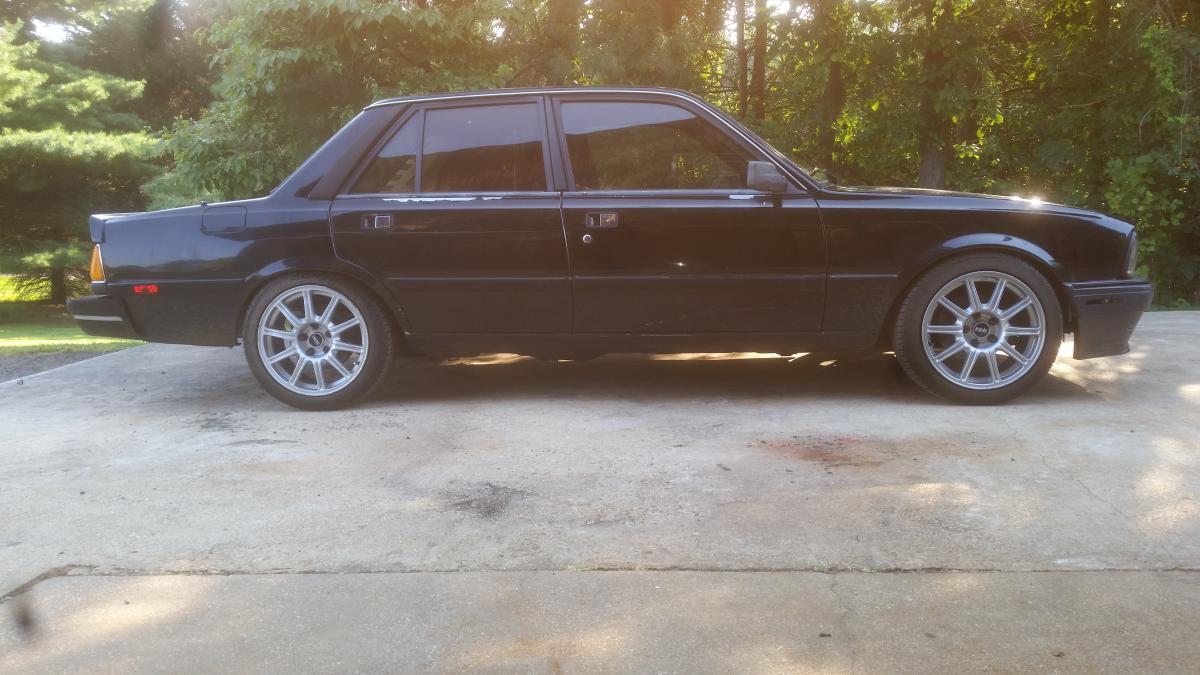
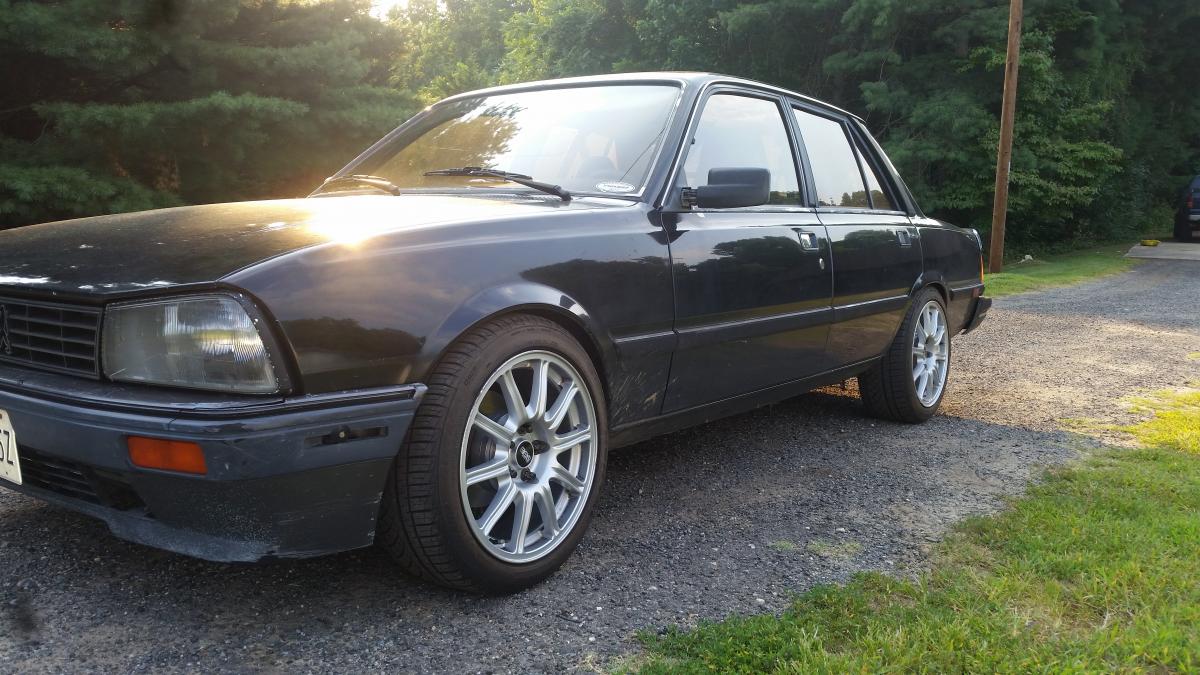
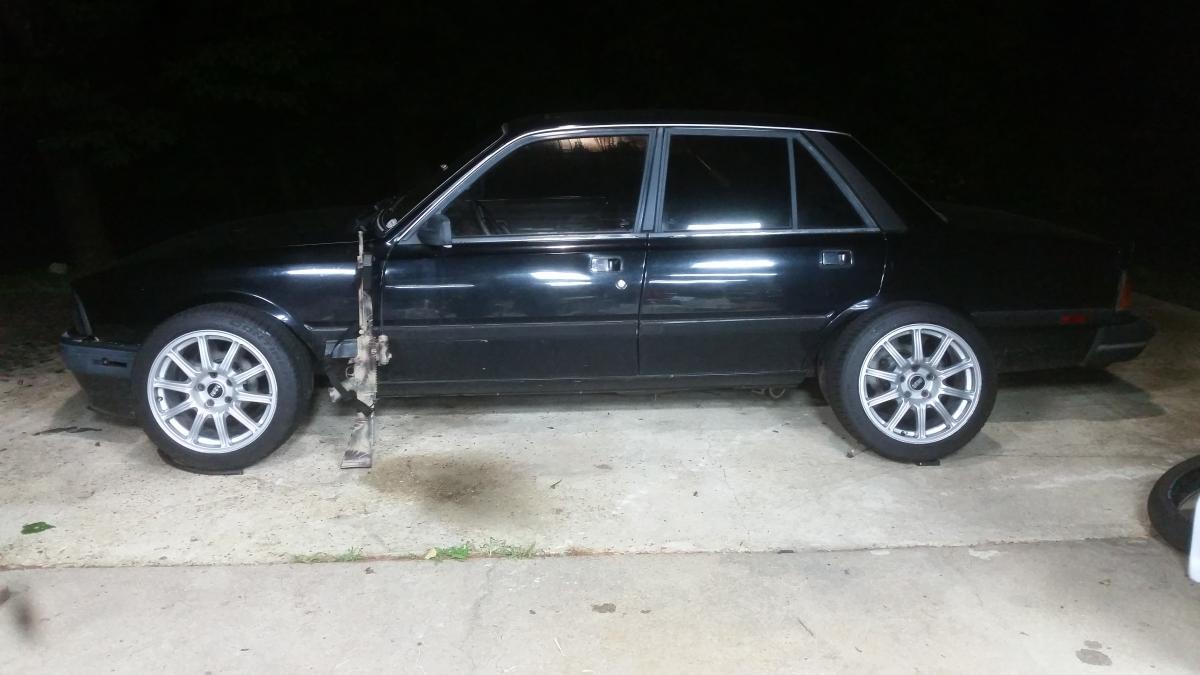
17x8.5 with a 255 is one hell of a stretch from where I'm sitting. With a stock angled strut the front wheel offset would need to be 0 or negative, and the fender would need to be widened an inch or so. To keep track with ratio the same as stock (4 identical wheels) the rears would need the same widening which might look funny unless you widen the door too. If you want it super easy get some 17x7.5s and you wont even have to worry. Yes those are conti dws in 225/45, they came with the wheels. I haven't had any rubbing issues yet, even after some more than rigorous offroad (cornfield) testing. I'll test some more and let you know where the issues are if they come up.
-
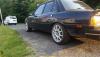
There's about 5mm between the tube and rim. The fronts fit without issue, the rears needed the lip rolled and some hammering on the inner fenders for clearance. Not too bad considering the front/rear track width grew 85mm.
-
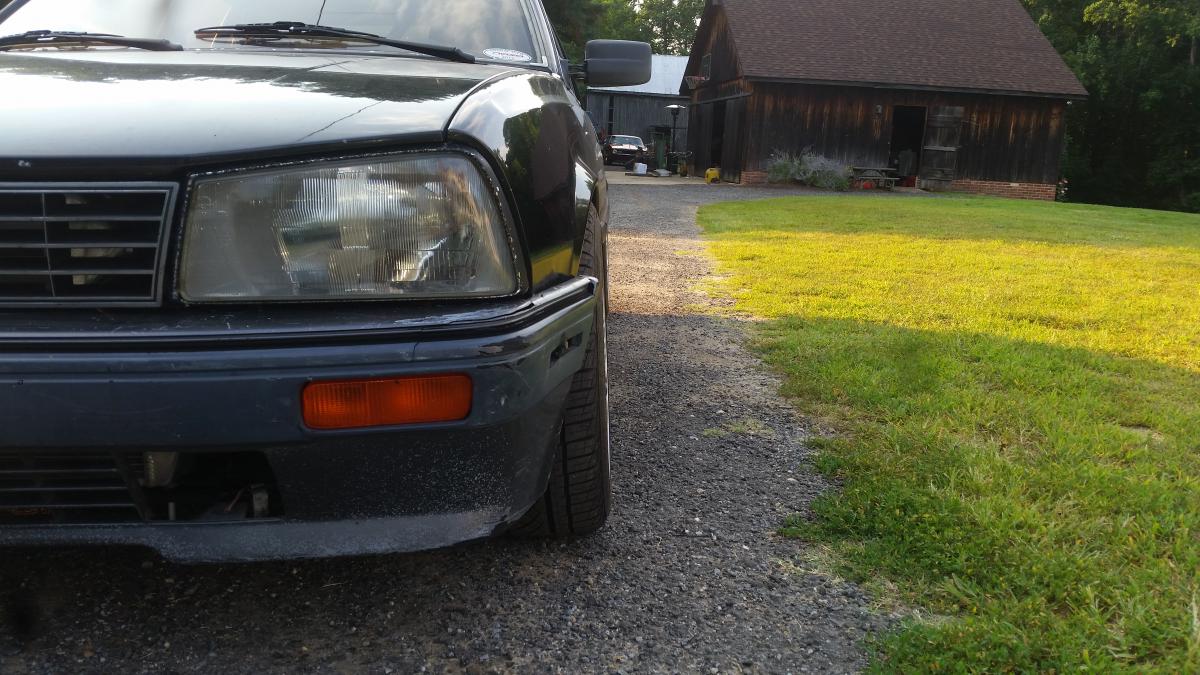
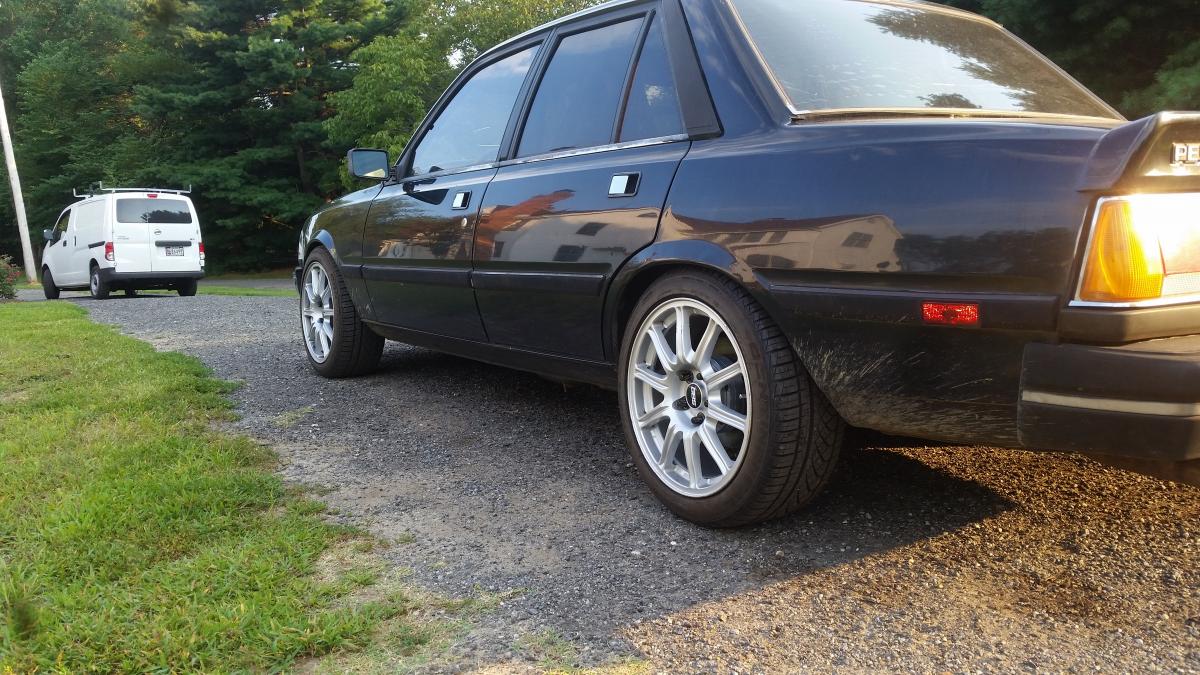
Here it is, the adapters ended up being 45mm thick front and rear for an effective wheel offset of 8.


-
Gap em in the middle of the ring makers specs and leave it be. Do a quick google search about the correct procedure and go to town.
-
https://youtu.be/05OHpIh--eo
-
1989 505 5 Speed STOLEN!!!! --Yellow
keebs replied to boostin'euro89's topic in General Peugeot discussion
Man that sucks. Hopefully they've realized by now it's too rare to part out and just leave it somewhere. I'll keep an eye out for it in the meantime. -
One of them is the fuel pumps. Don't know about the others.
-
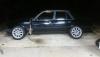
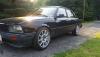
They are sti wheels:). They're 17x8et53 as opposed to stock 15x6et25. Adapters will have to do for now, later I want an sti strut assembly for parts availability and big brembos.
-
How about these wheels?